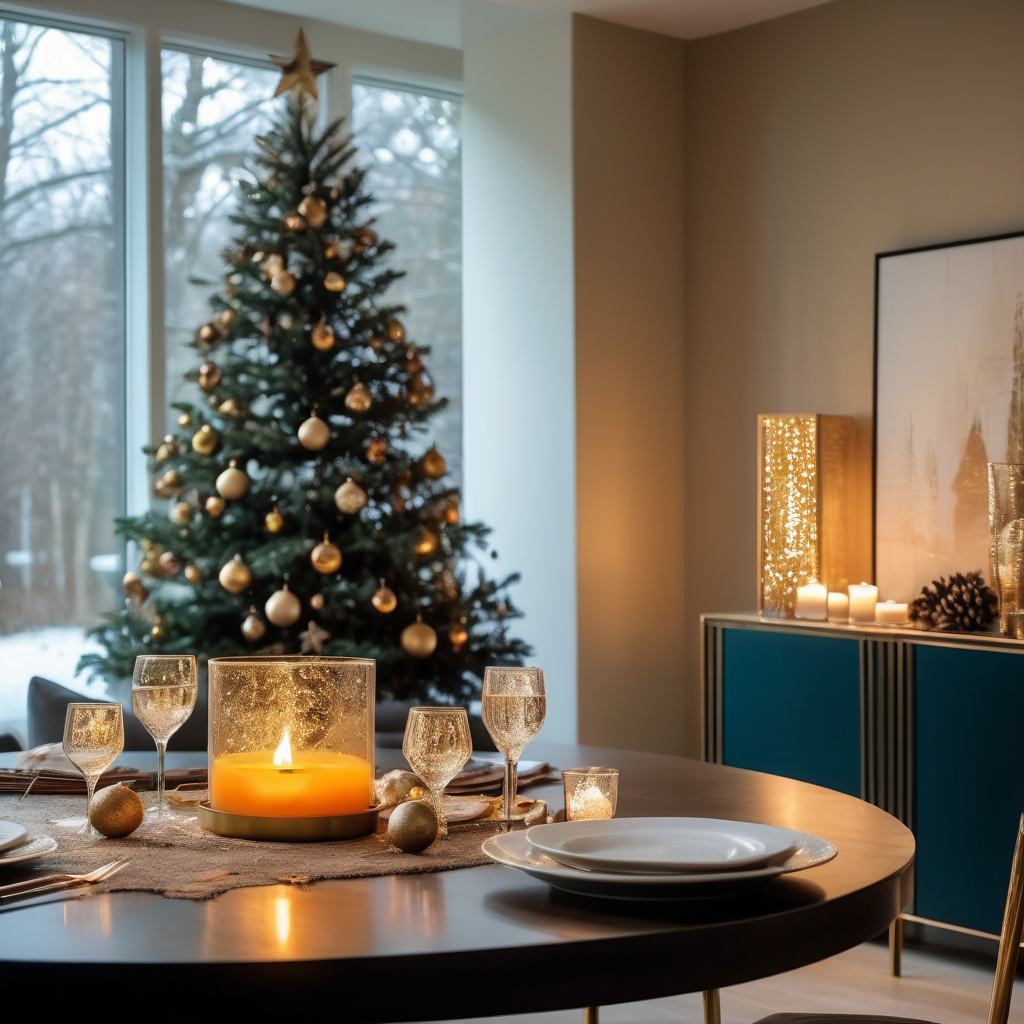
It is time for some ControlNet in A1111. We are currently studying ComfyUI but A1111 has been the tool we played with the most and used to produce these results.
While A1111 has its image-to-image tool Inbuilt, ControlNet takes everything to the next level of…Control. We are not experts in ControlNet and are only focused on the potential implementation of a workflow for architectural visualization.
For now, we found 3 Main study cases:
3D people/people enhancement that is the topic that we are going to check today;
Sketch to Image capabilities, coming shortly after this;
Clay render to Image. This was the original target we had in mind. We got there to discover that there are real-time options already implemented by other studios. We will still document this because it is a good exercise and an efficient way to keep notes.
The real-time goal is interesting for us as well, that is why we are studying ComfyUI now since it seems to be the most powerful and versatile interface to get there.

Without further do, let’s jump into the 3D People - People enhancement and variation.
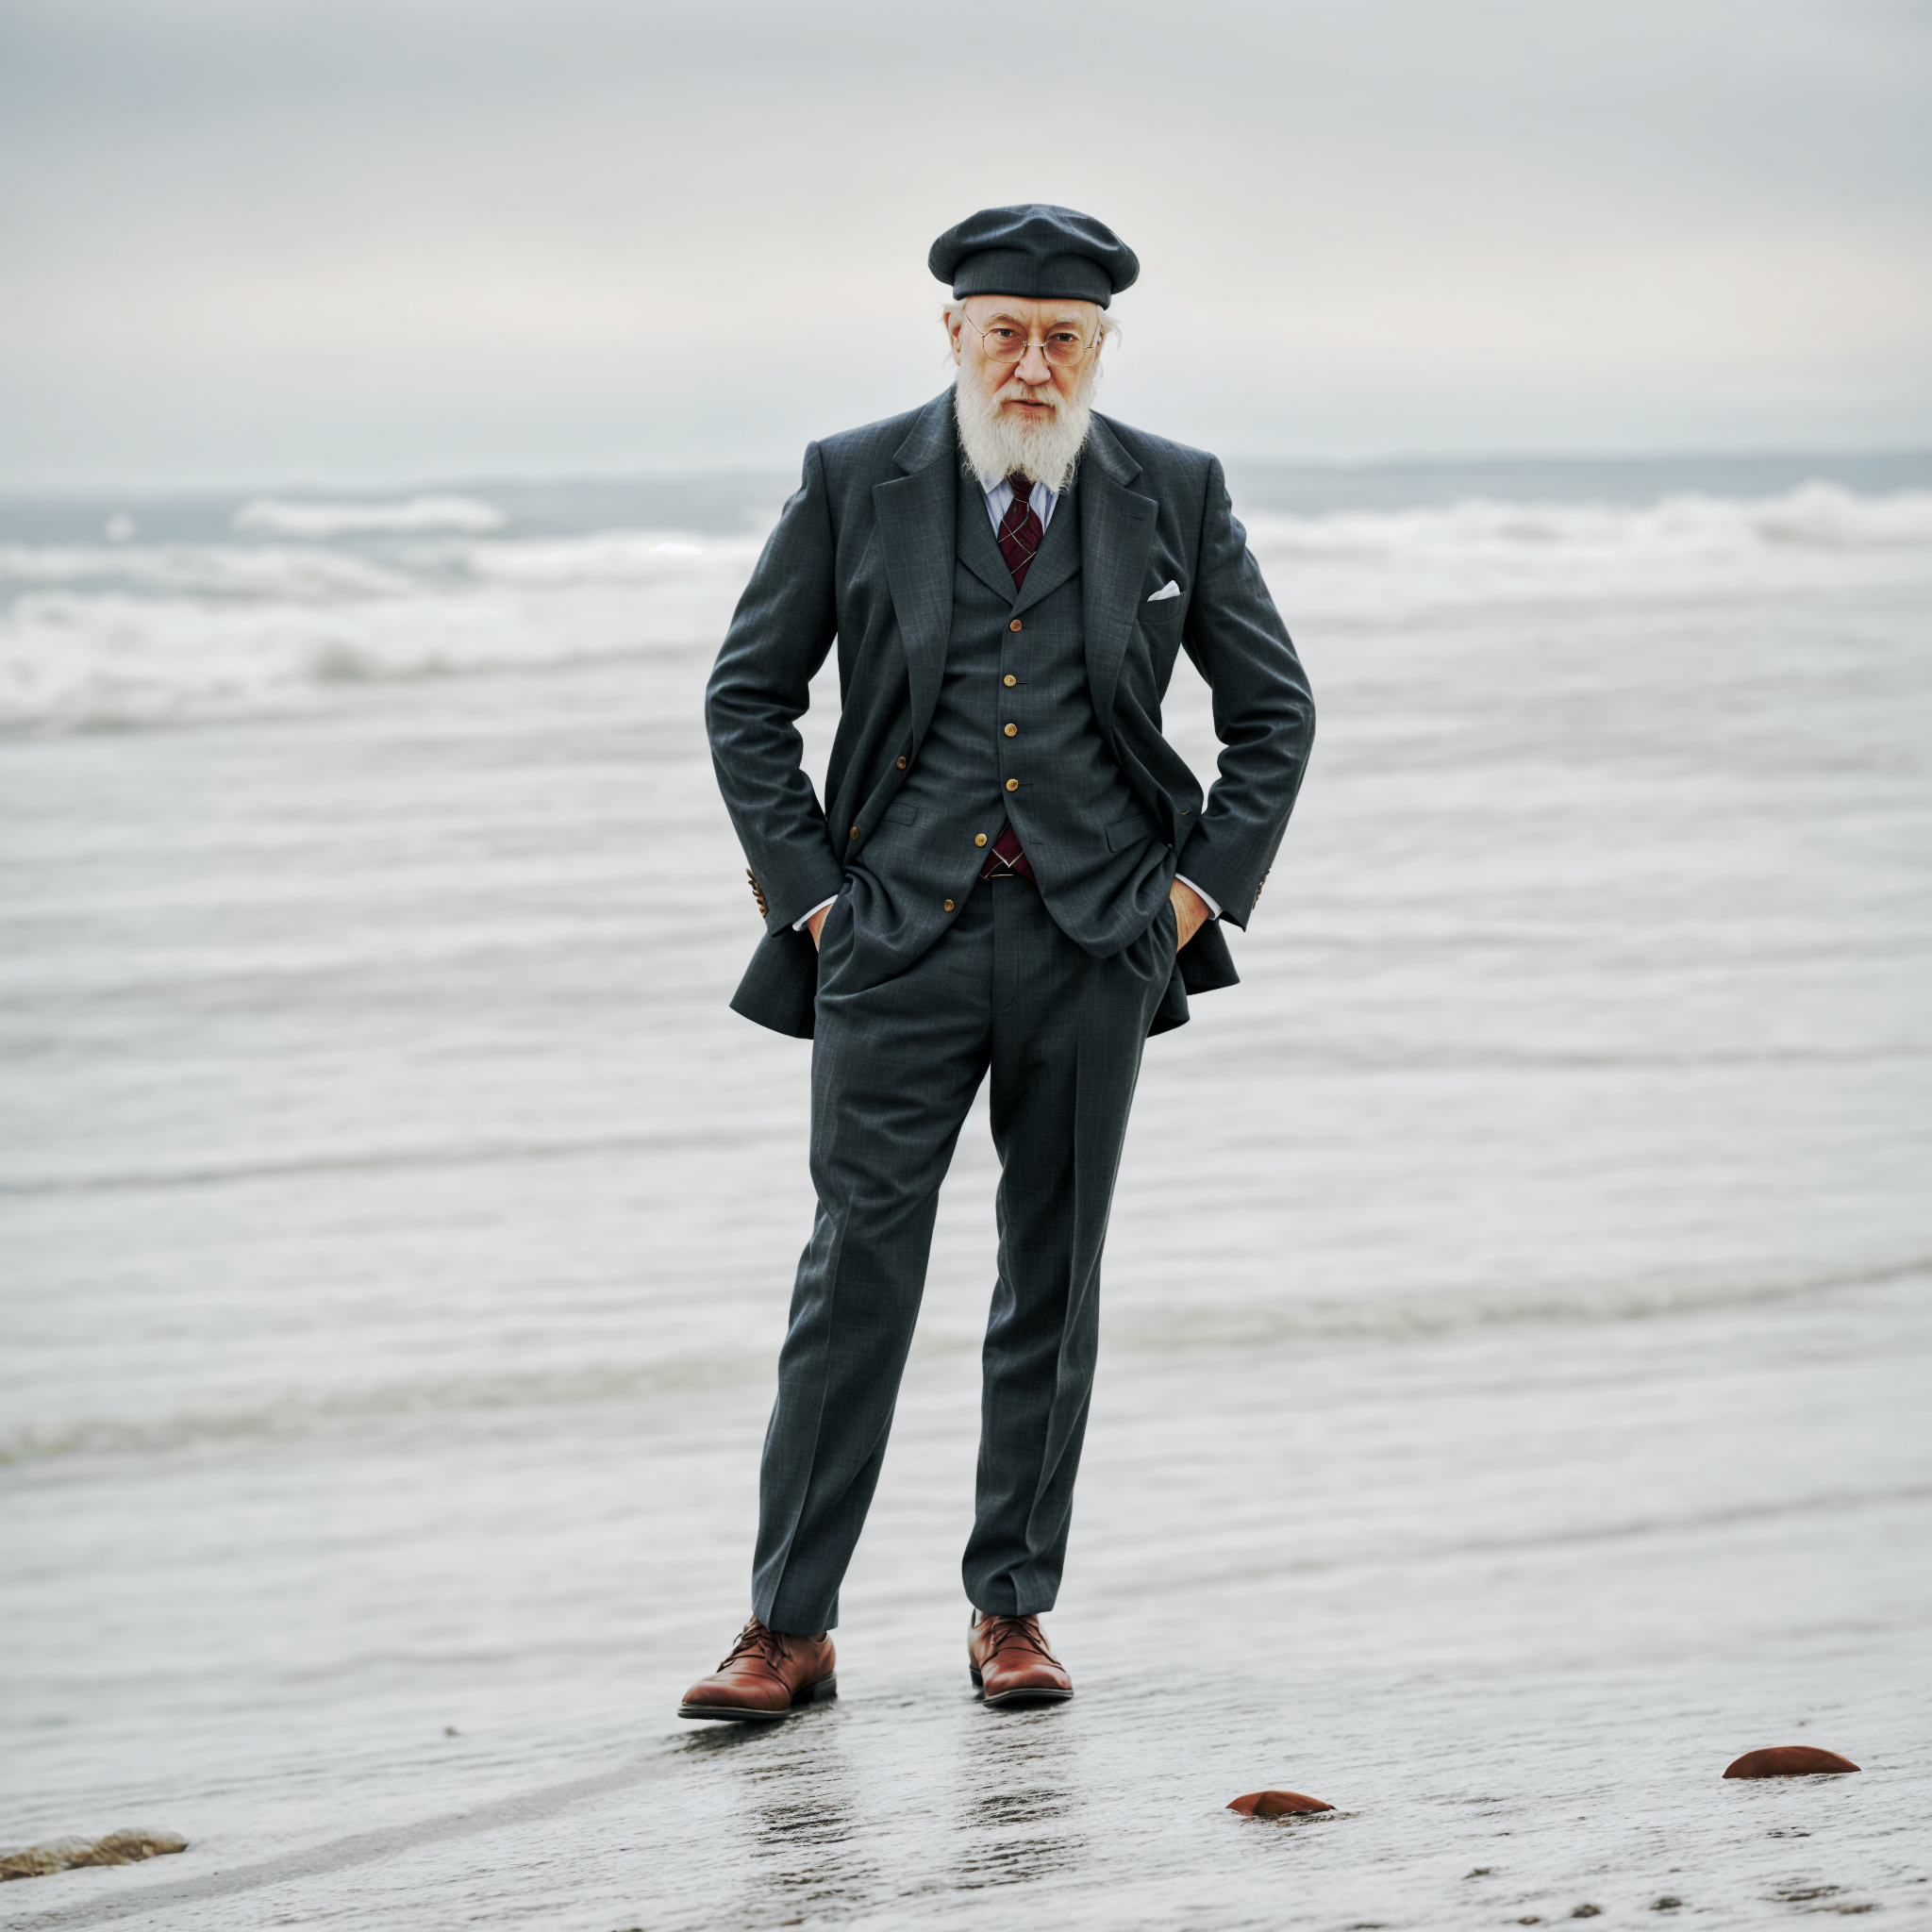
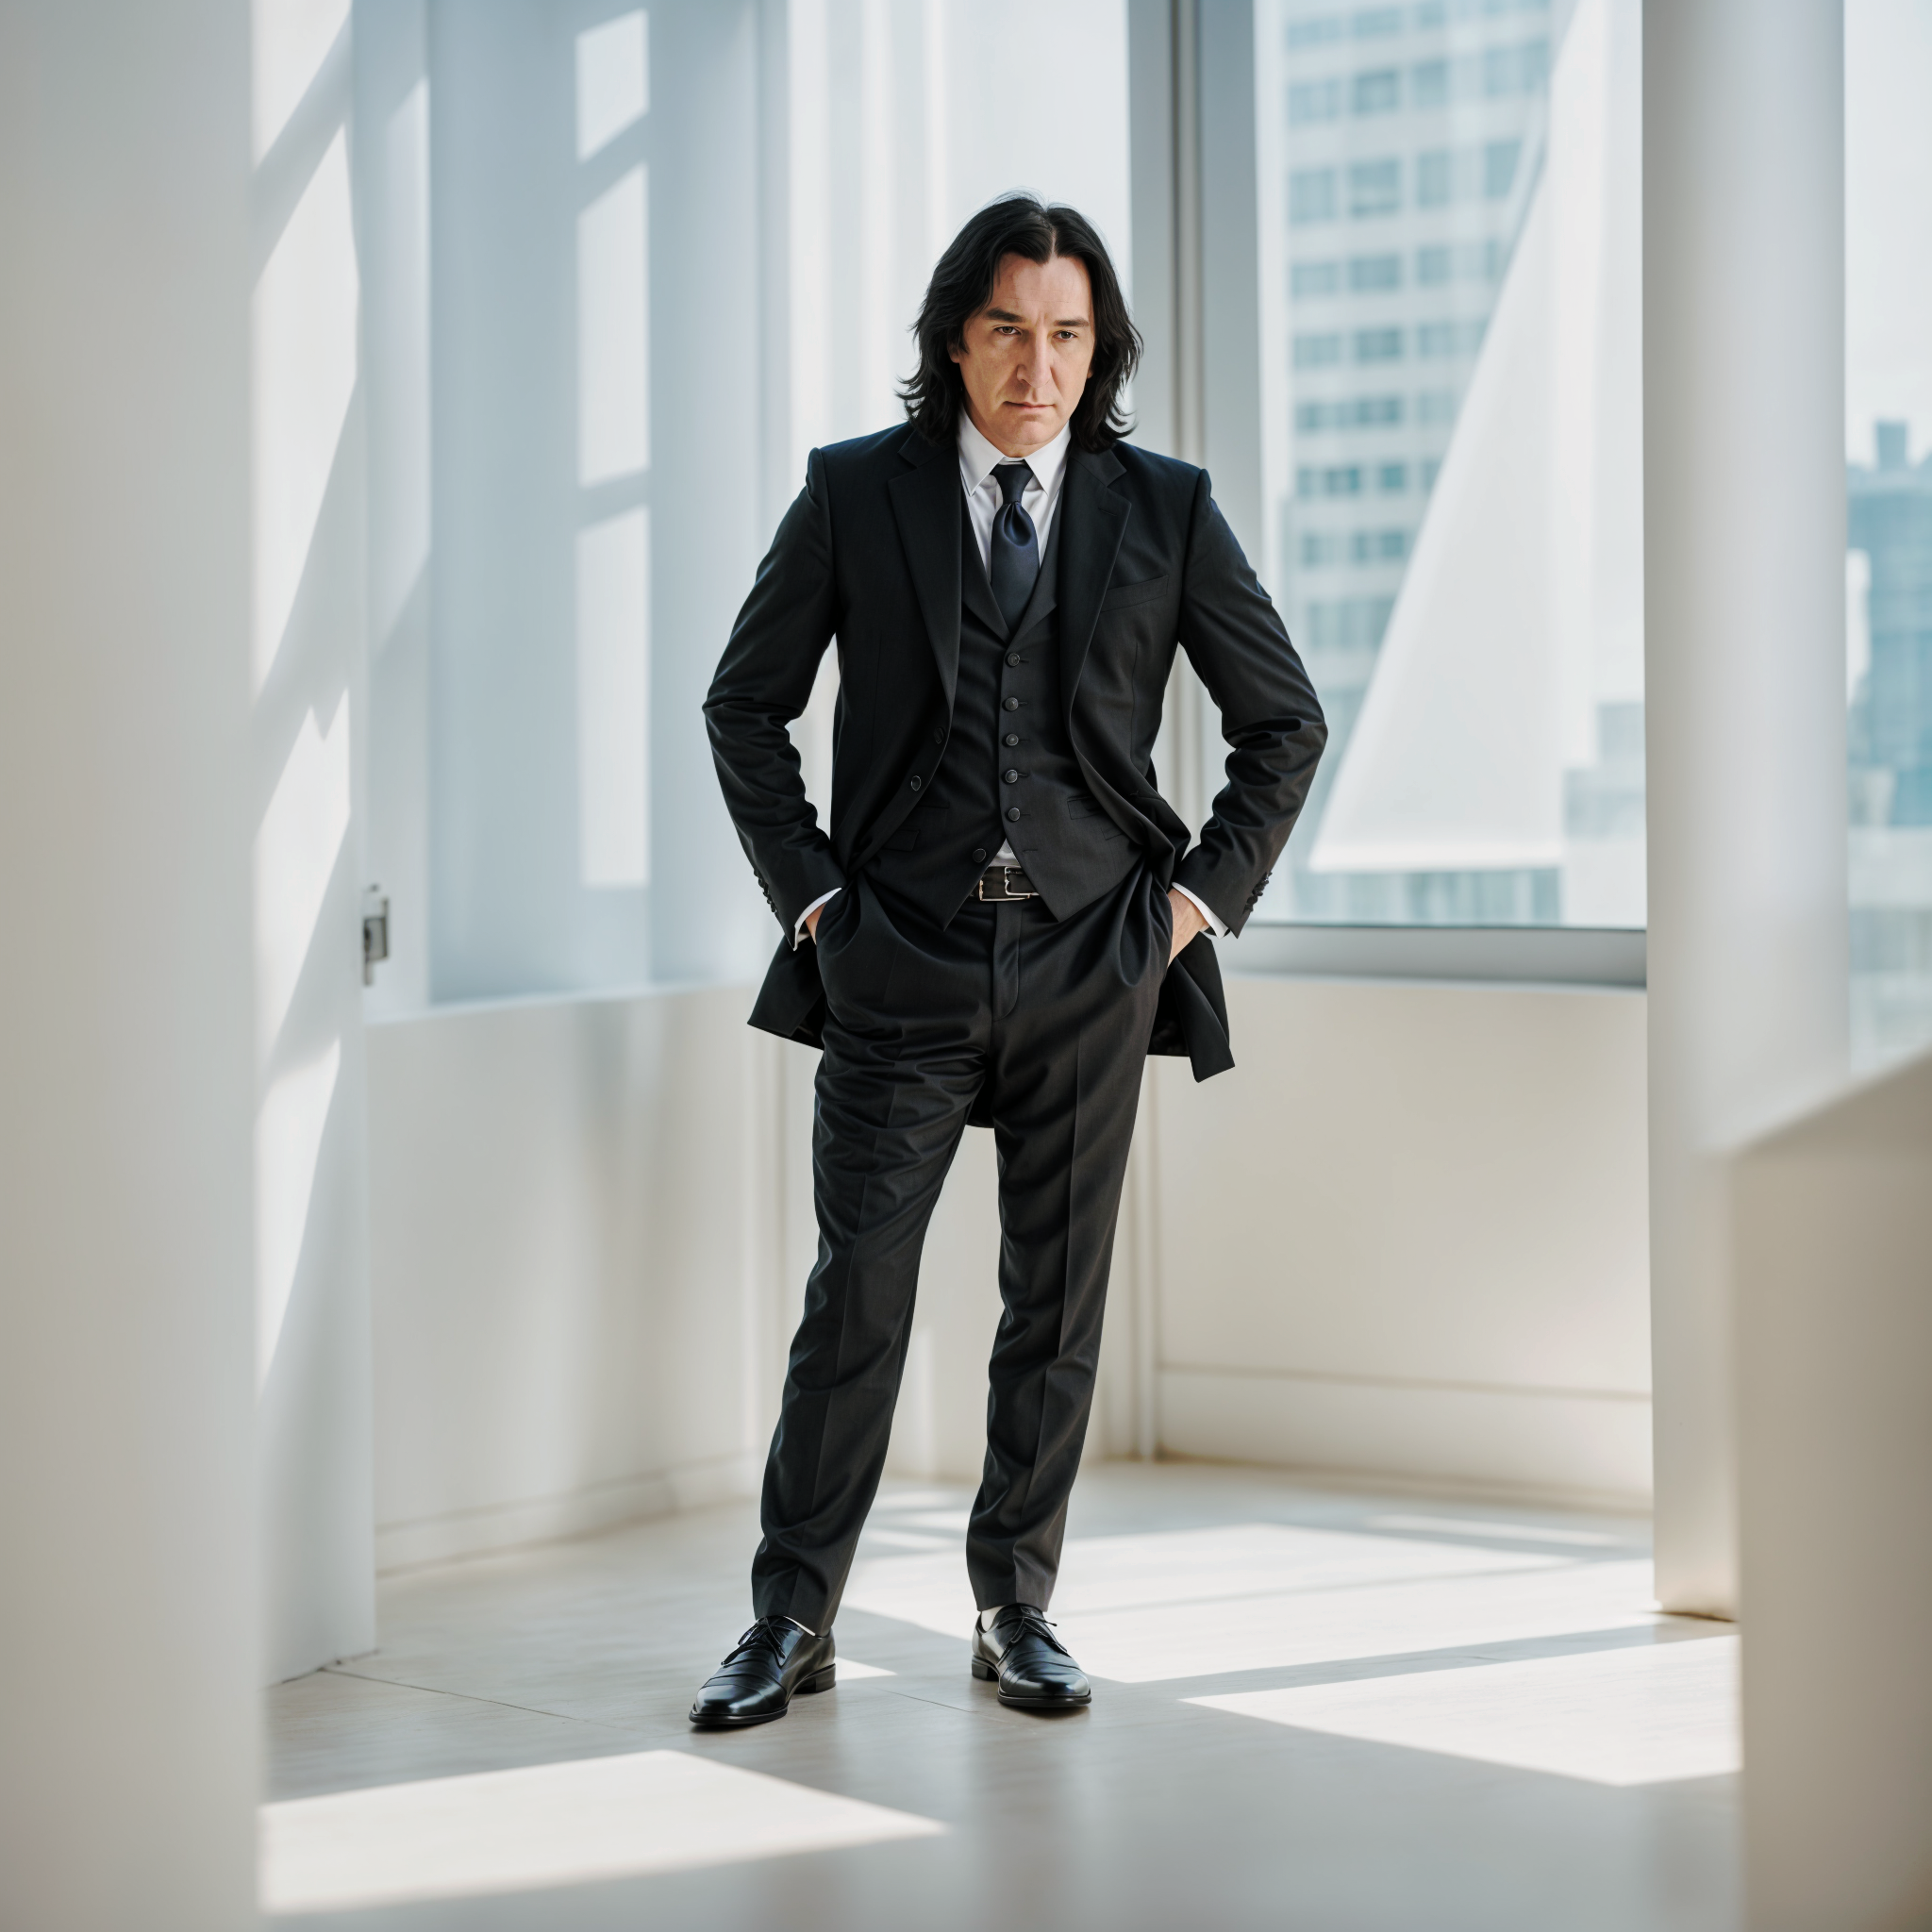
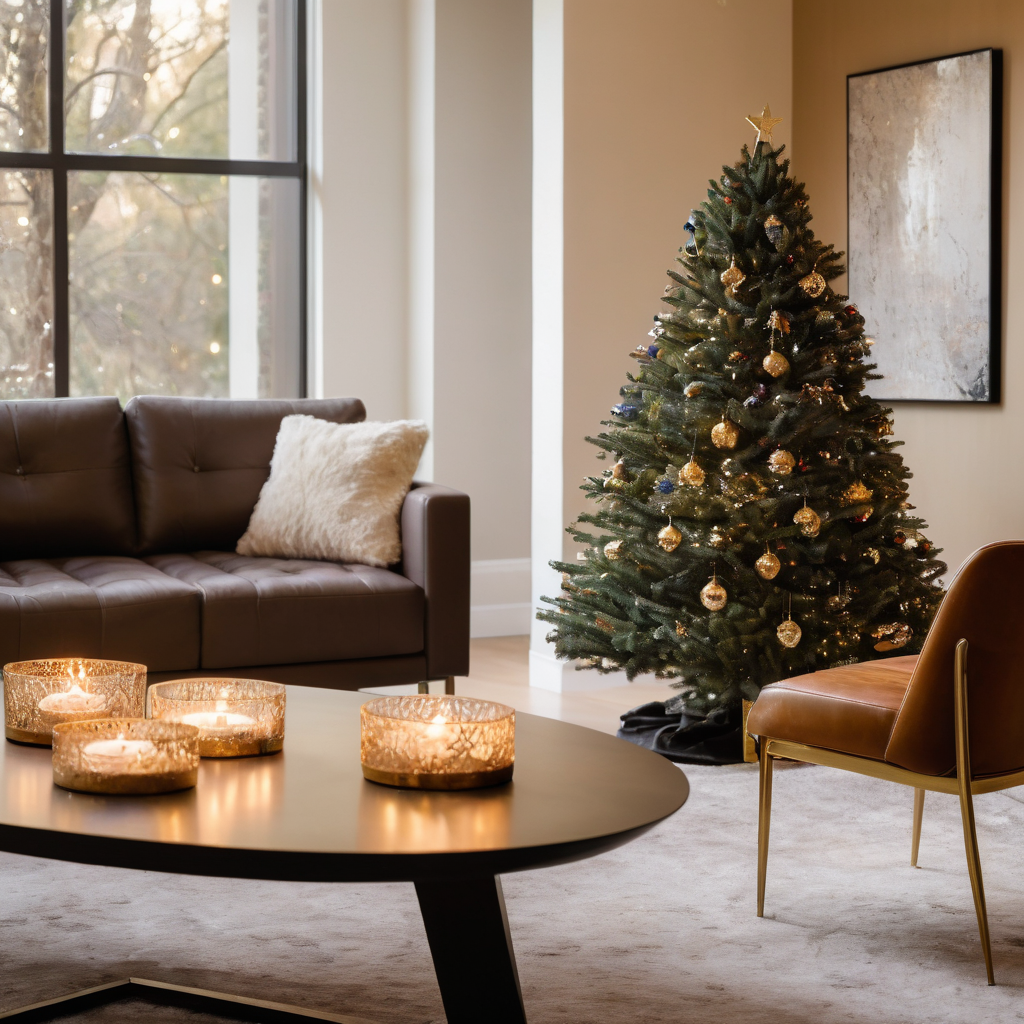
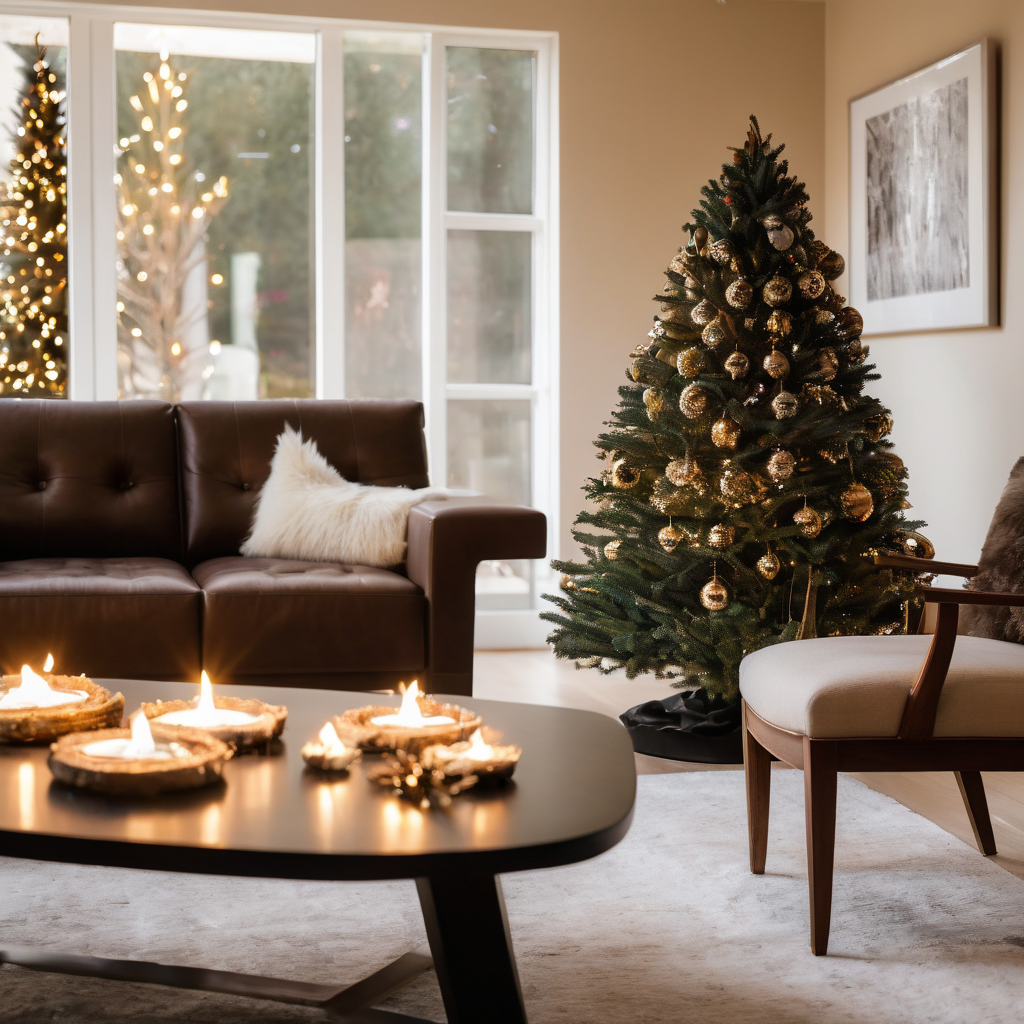
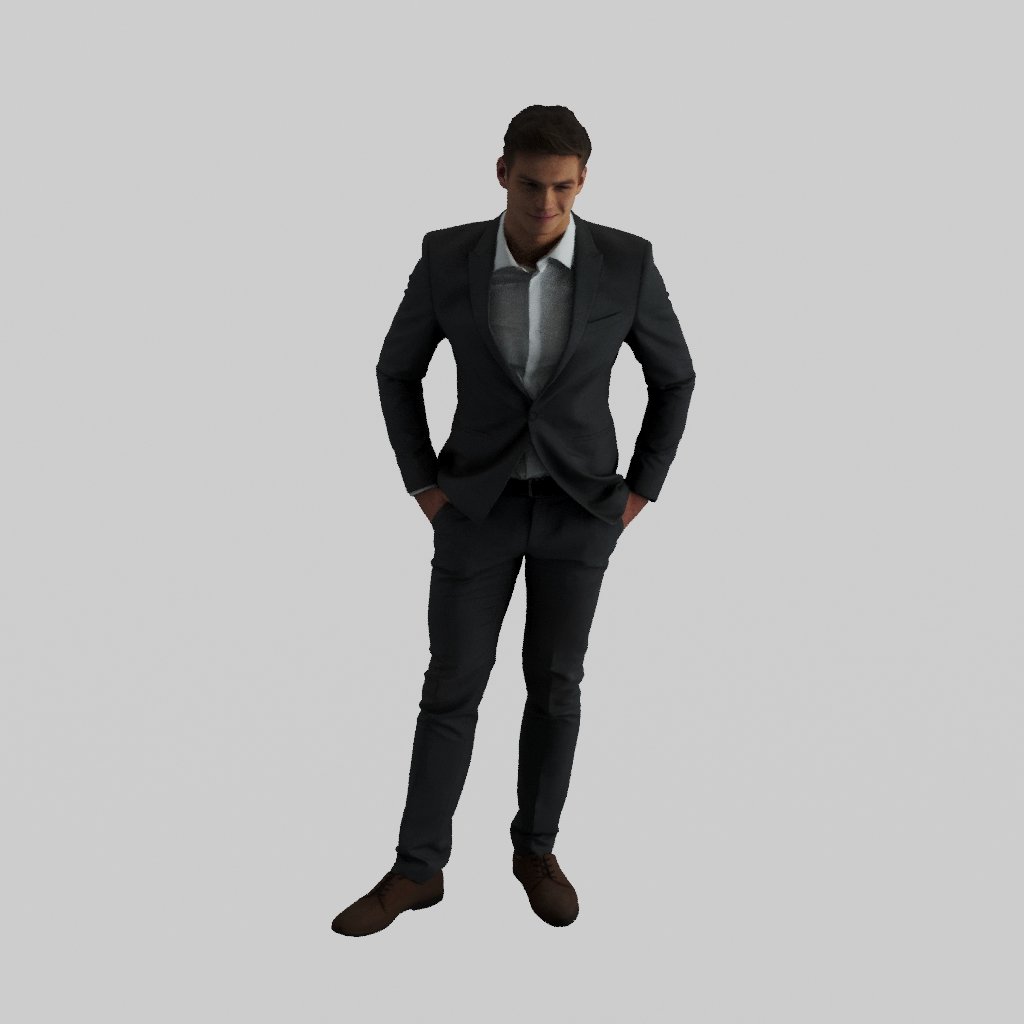
In this case, we start with an image from our 3D Library.
We are not huge fans of 3D people. They tend to look weird and we only find them useful if far from the camera or behind glass. What if there was a way to improve them, to create a better version, or to change nationality or dress?
Let’s have a look at that.
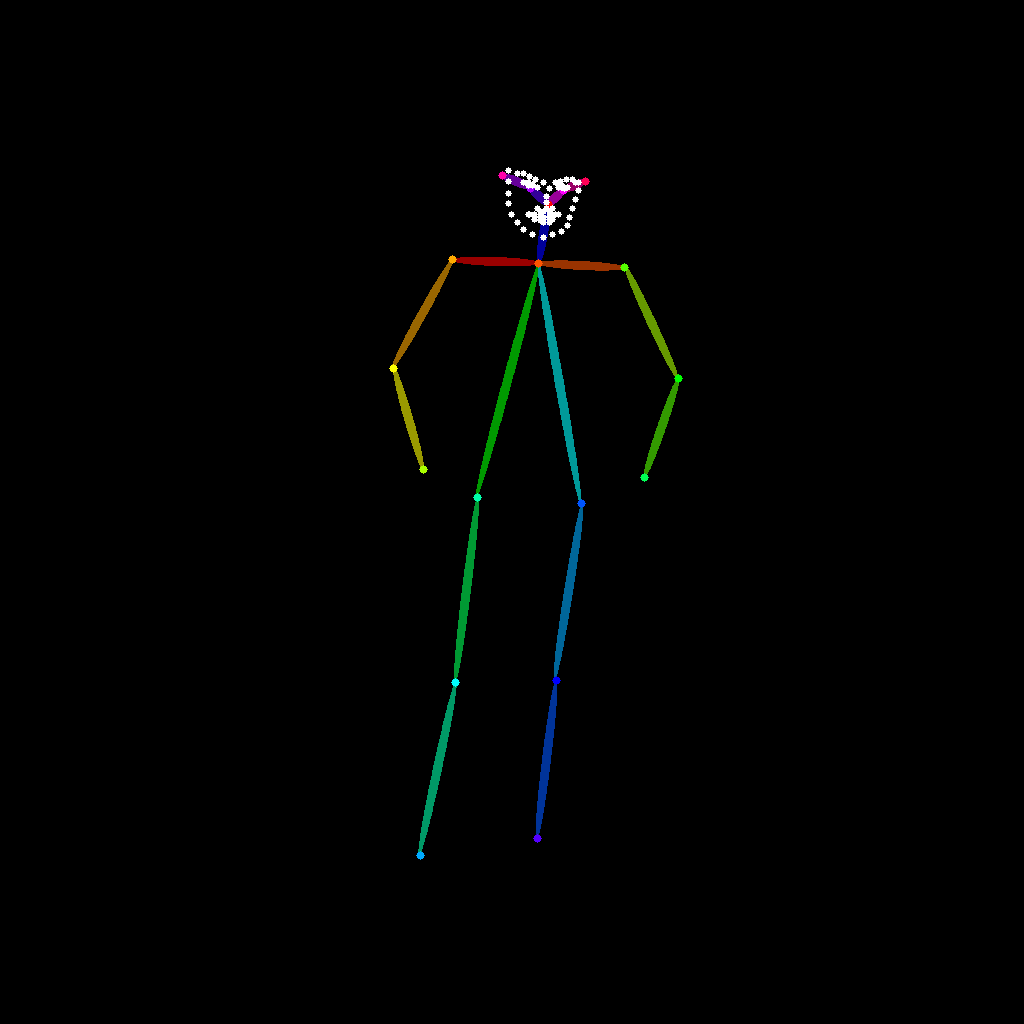
Here is a screenshot of the A1111 controlNet interface.

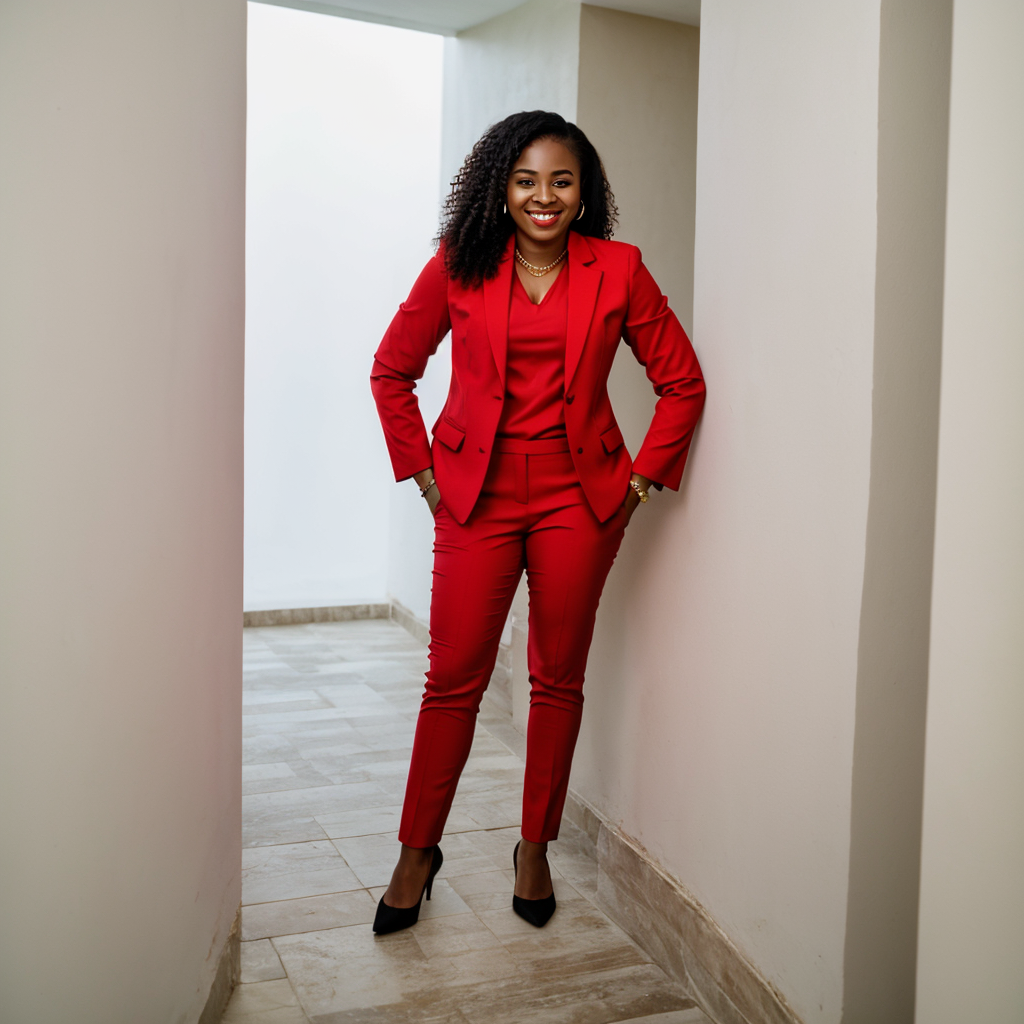
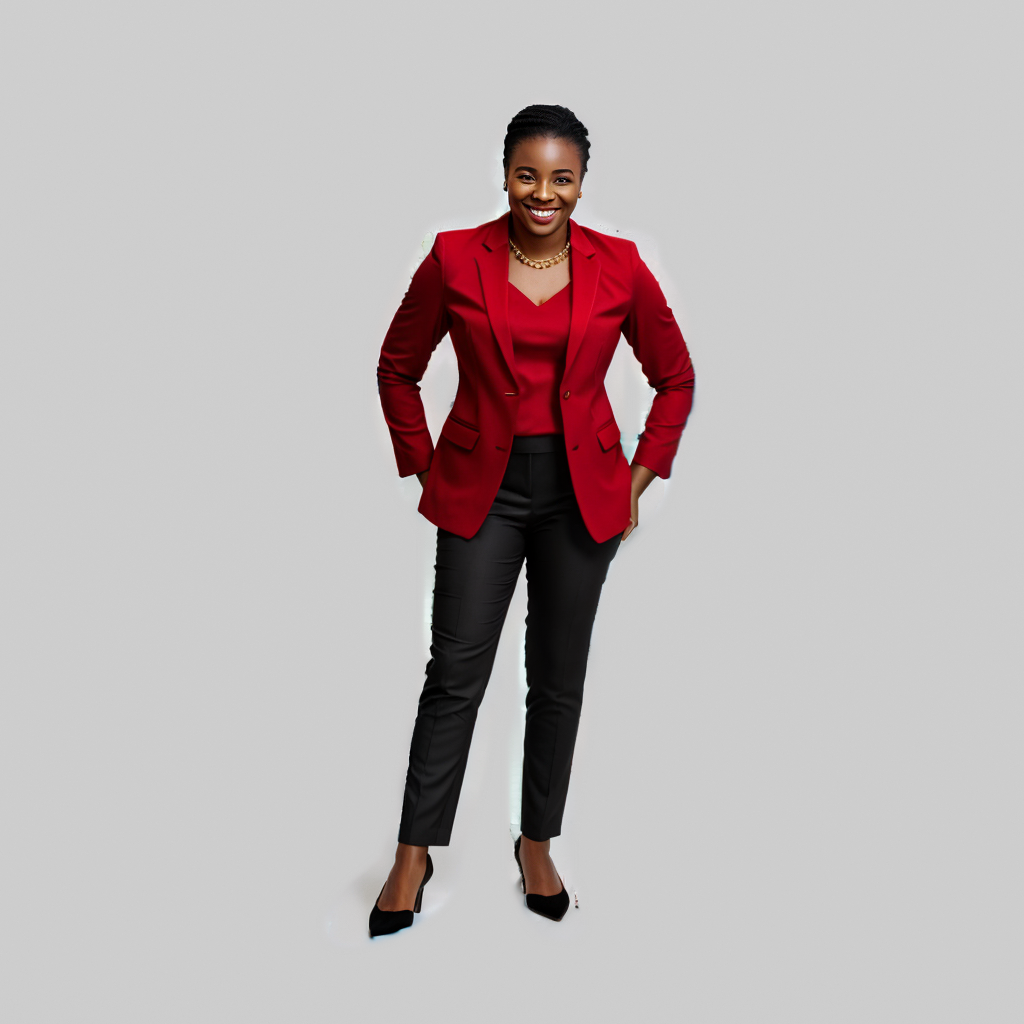
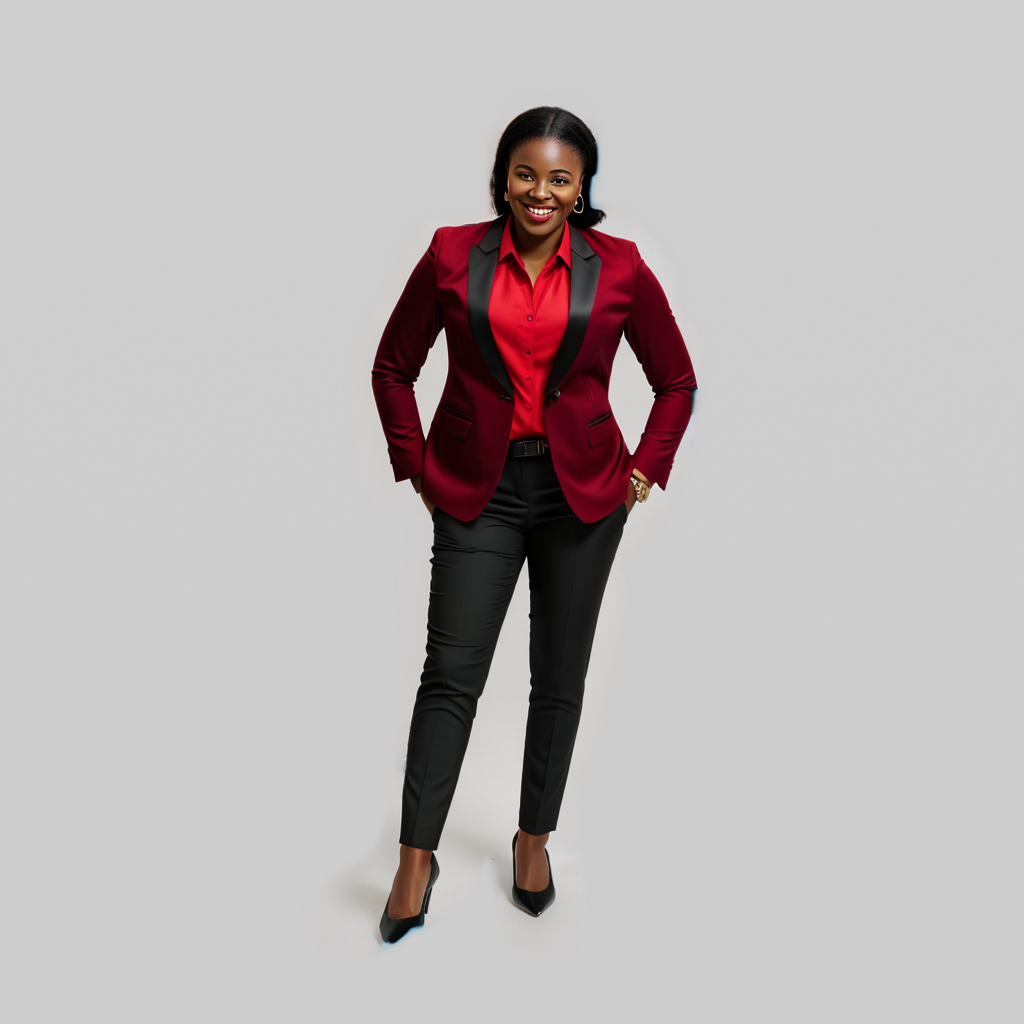
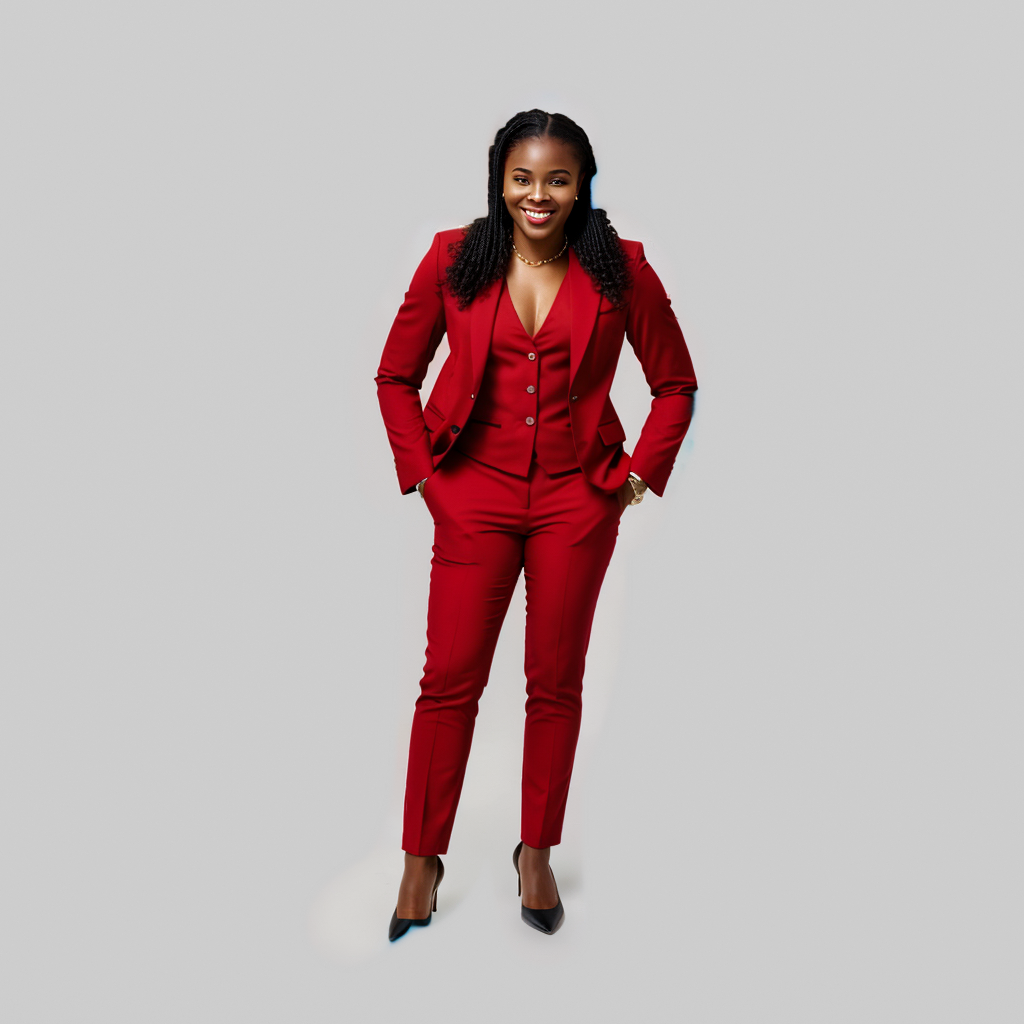
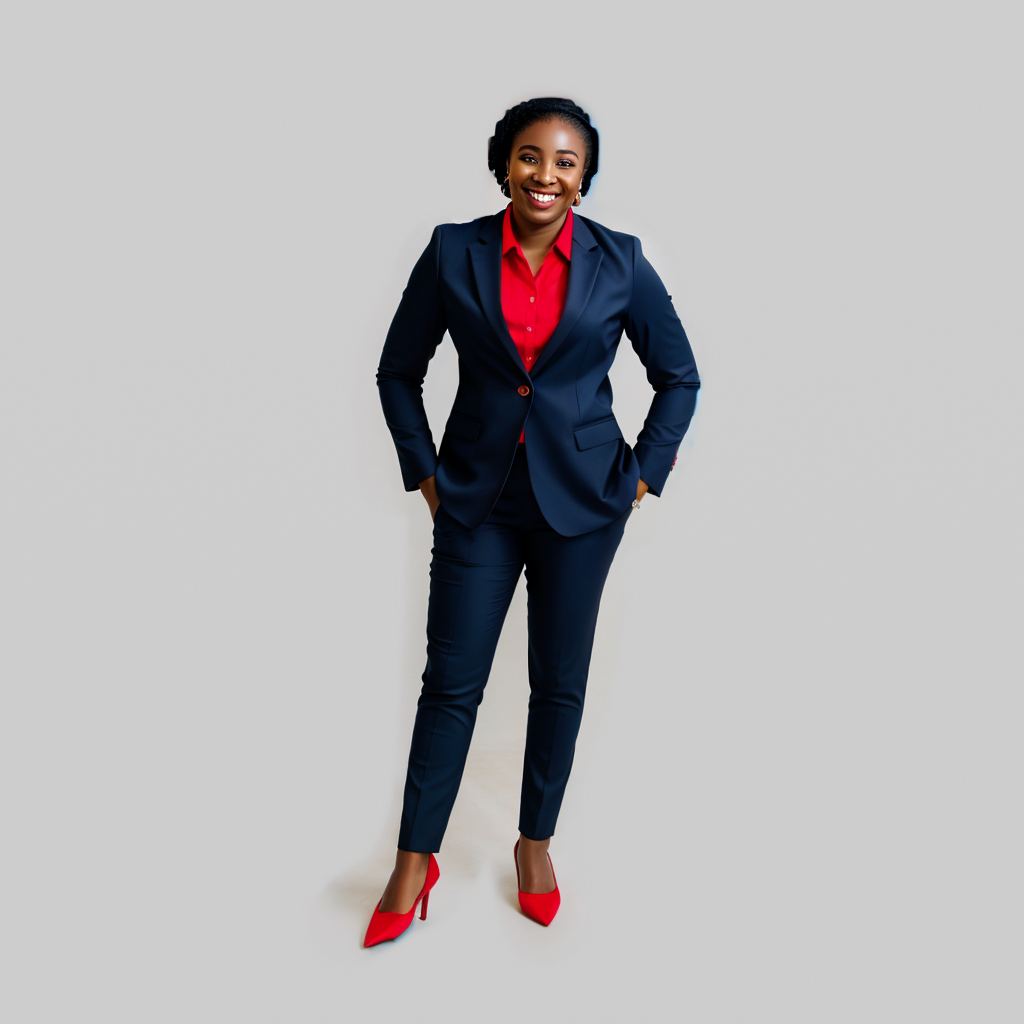
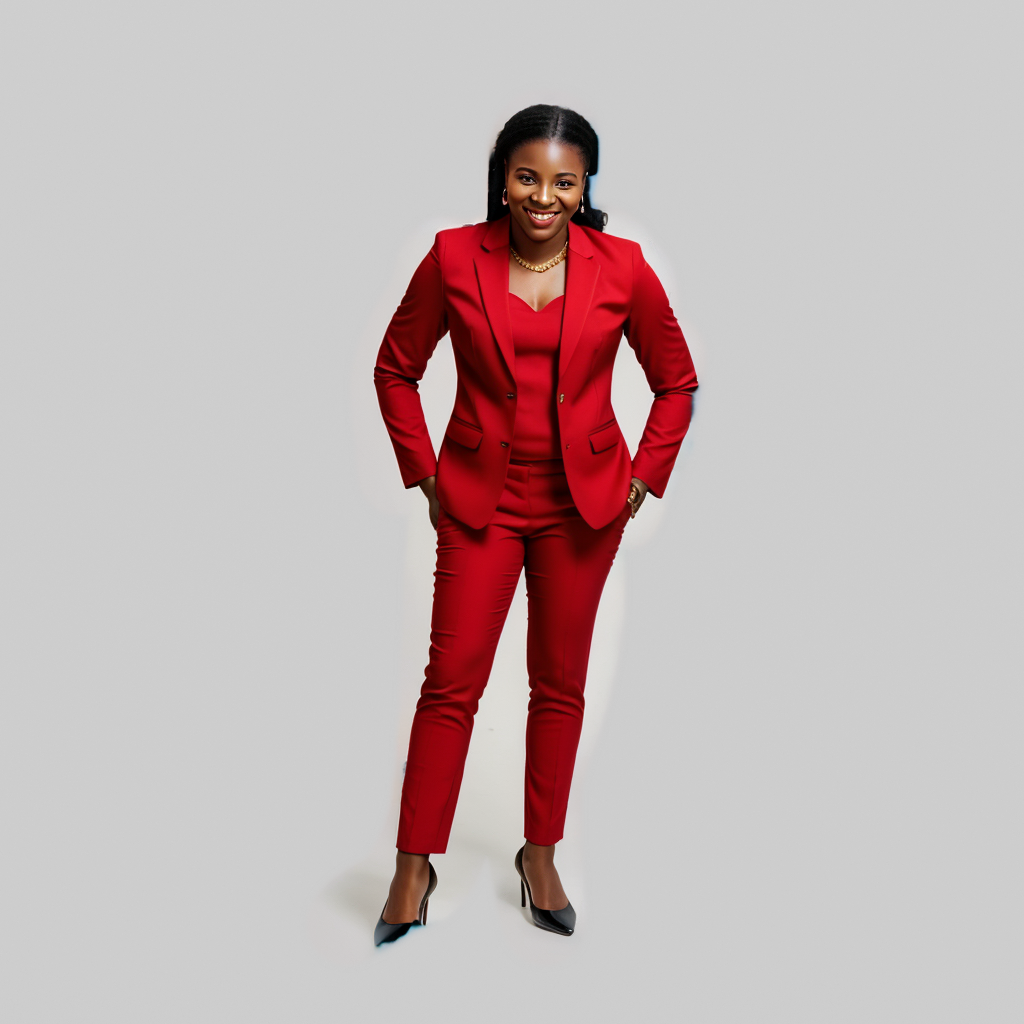
What we wanted to do was to change the guy transforming him into a “smiling Nigerian woman in business clothes, a red blazer”. This was our prompt. More than the prompt itself, what matters are the ControlNet settings and the correct choice of the SDModel and ControlNet Model.
Our SD for this is Realistic Vision V6 and for ControlNet we used OpenPose.

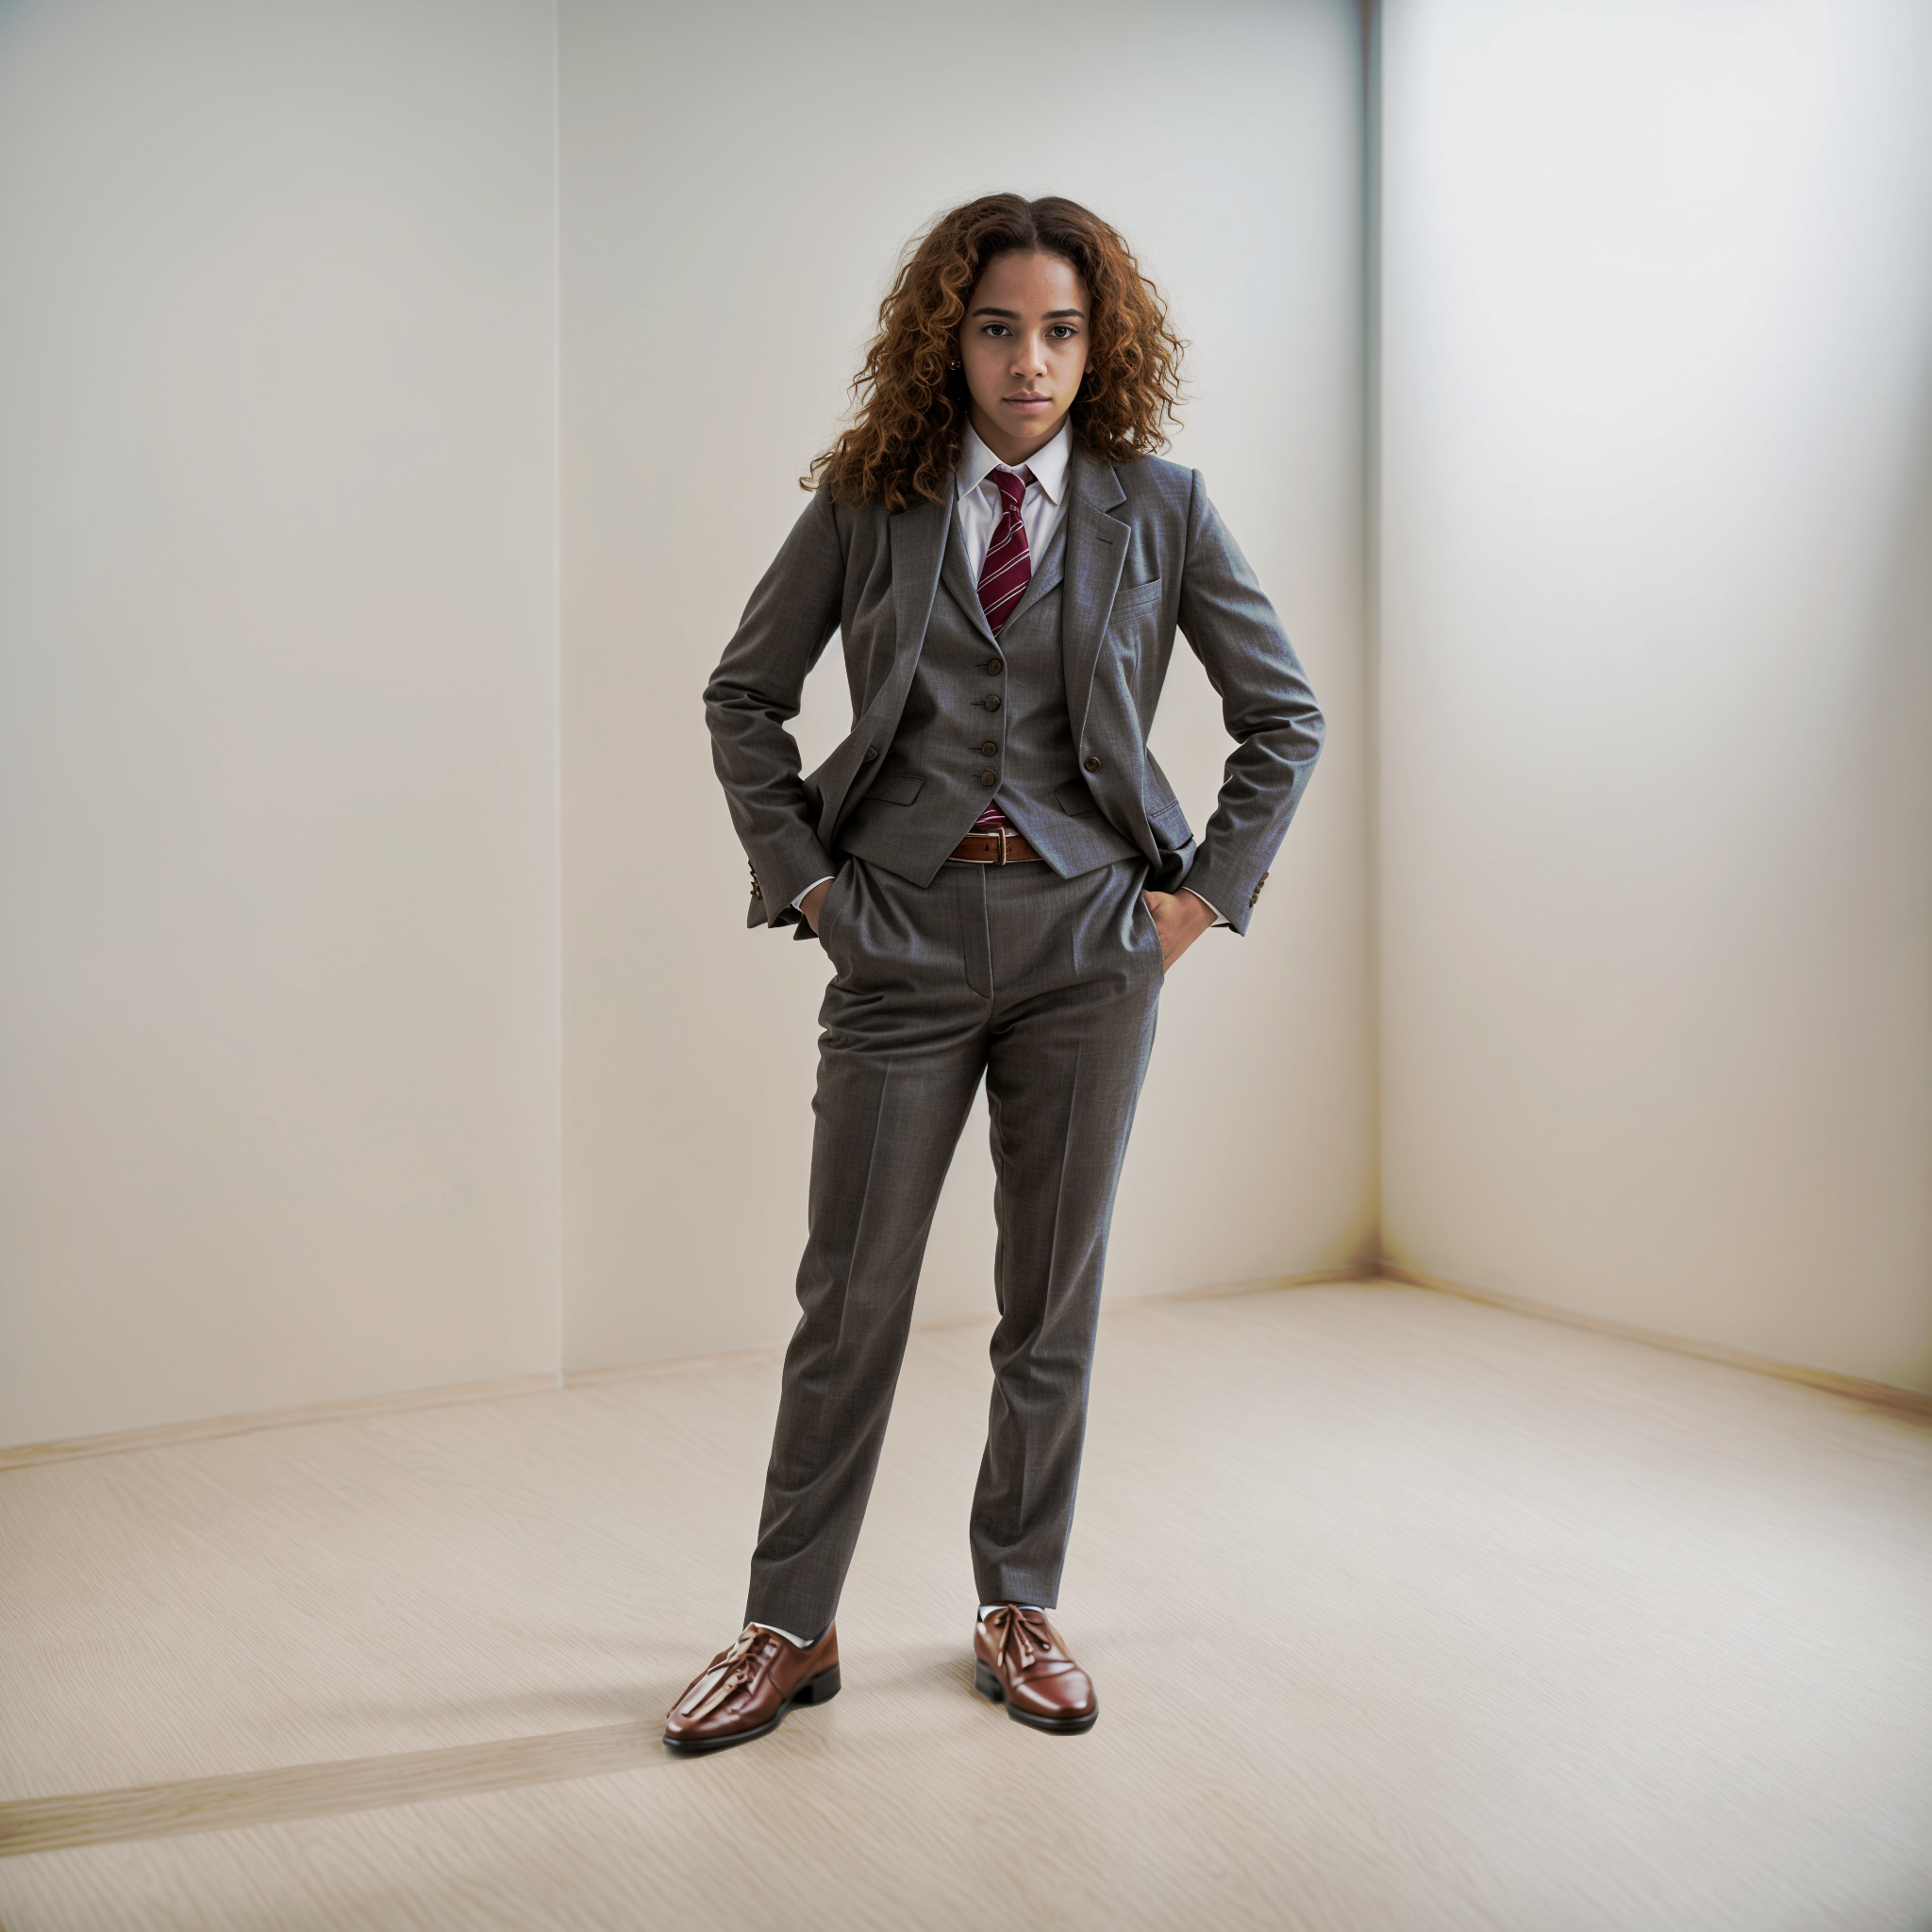
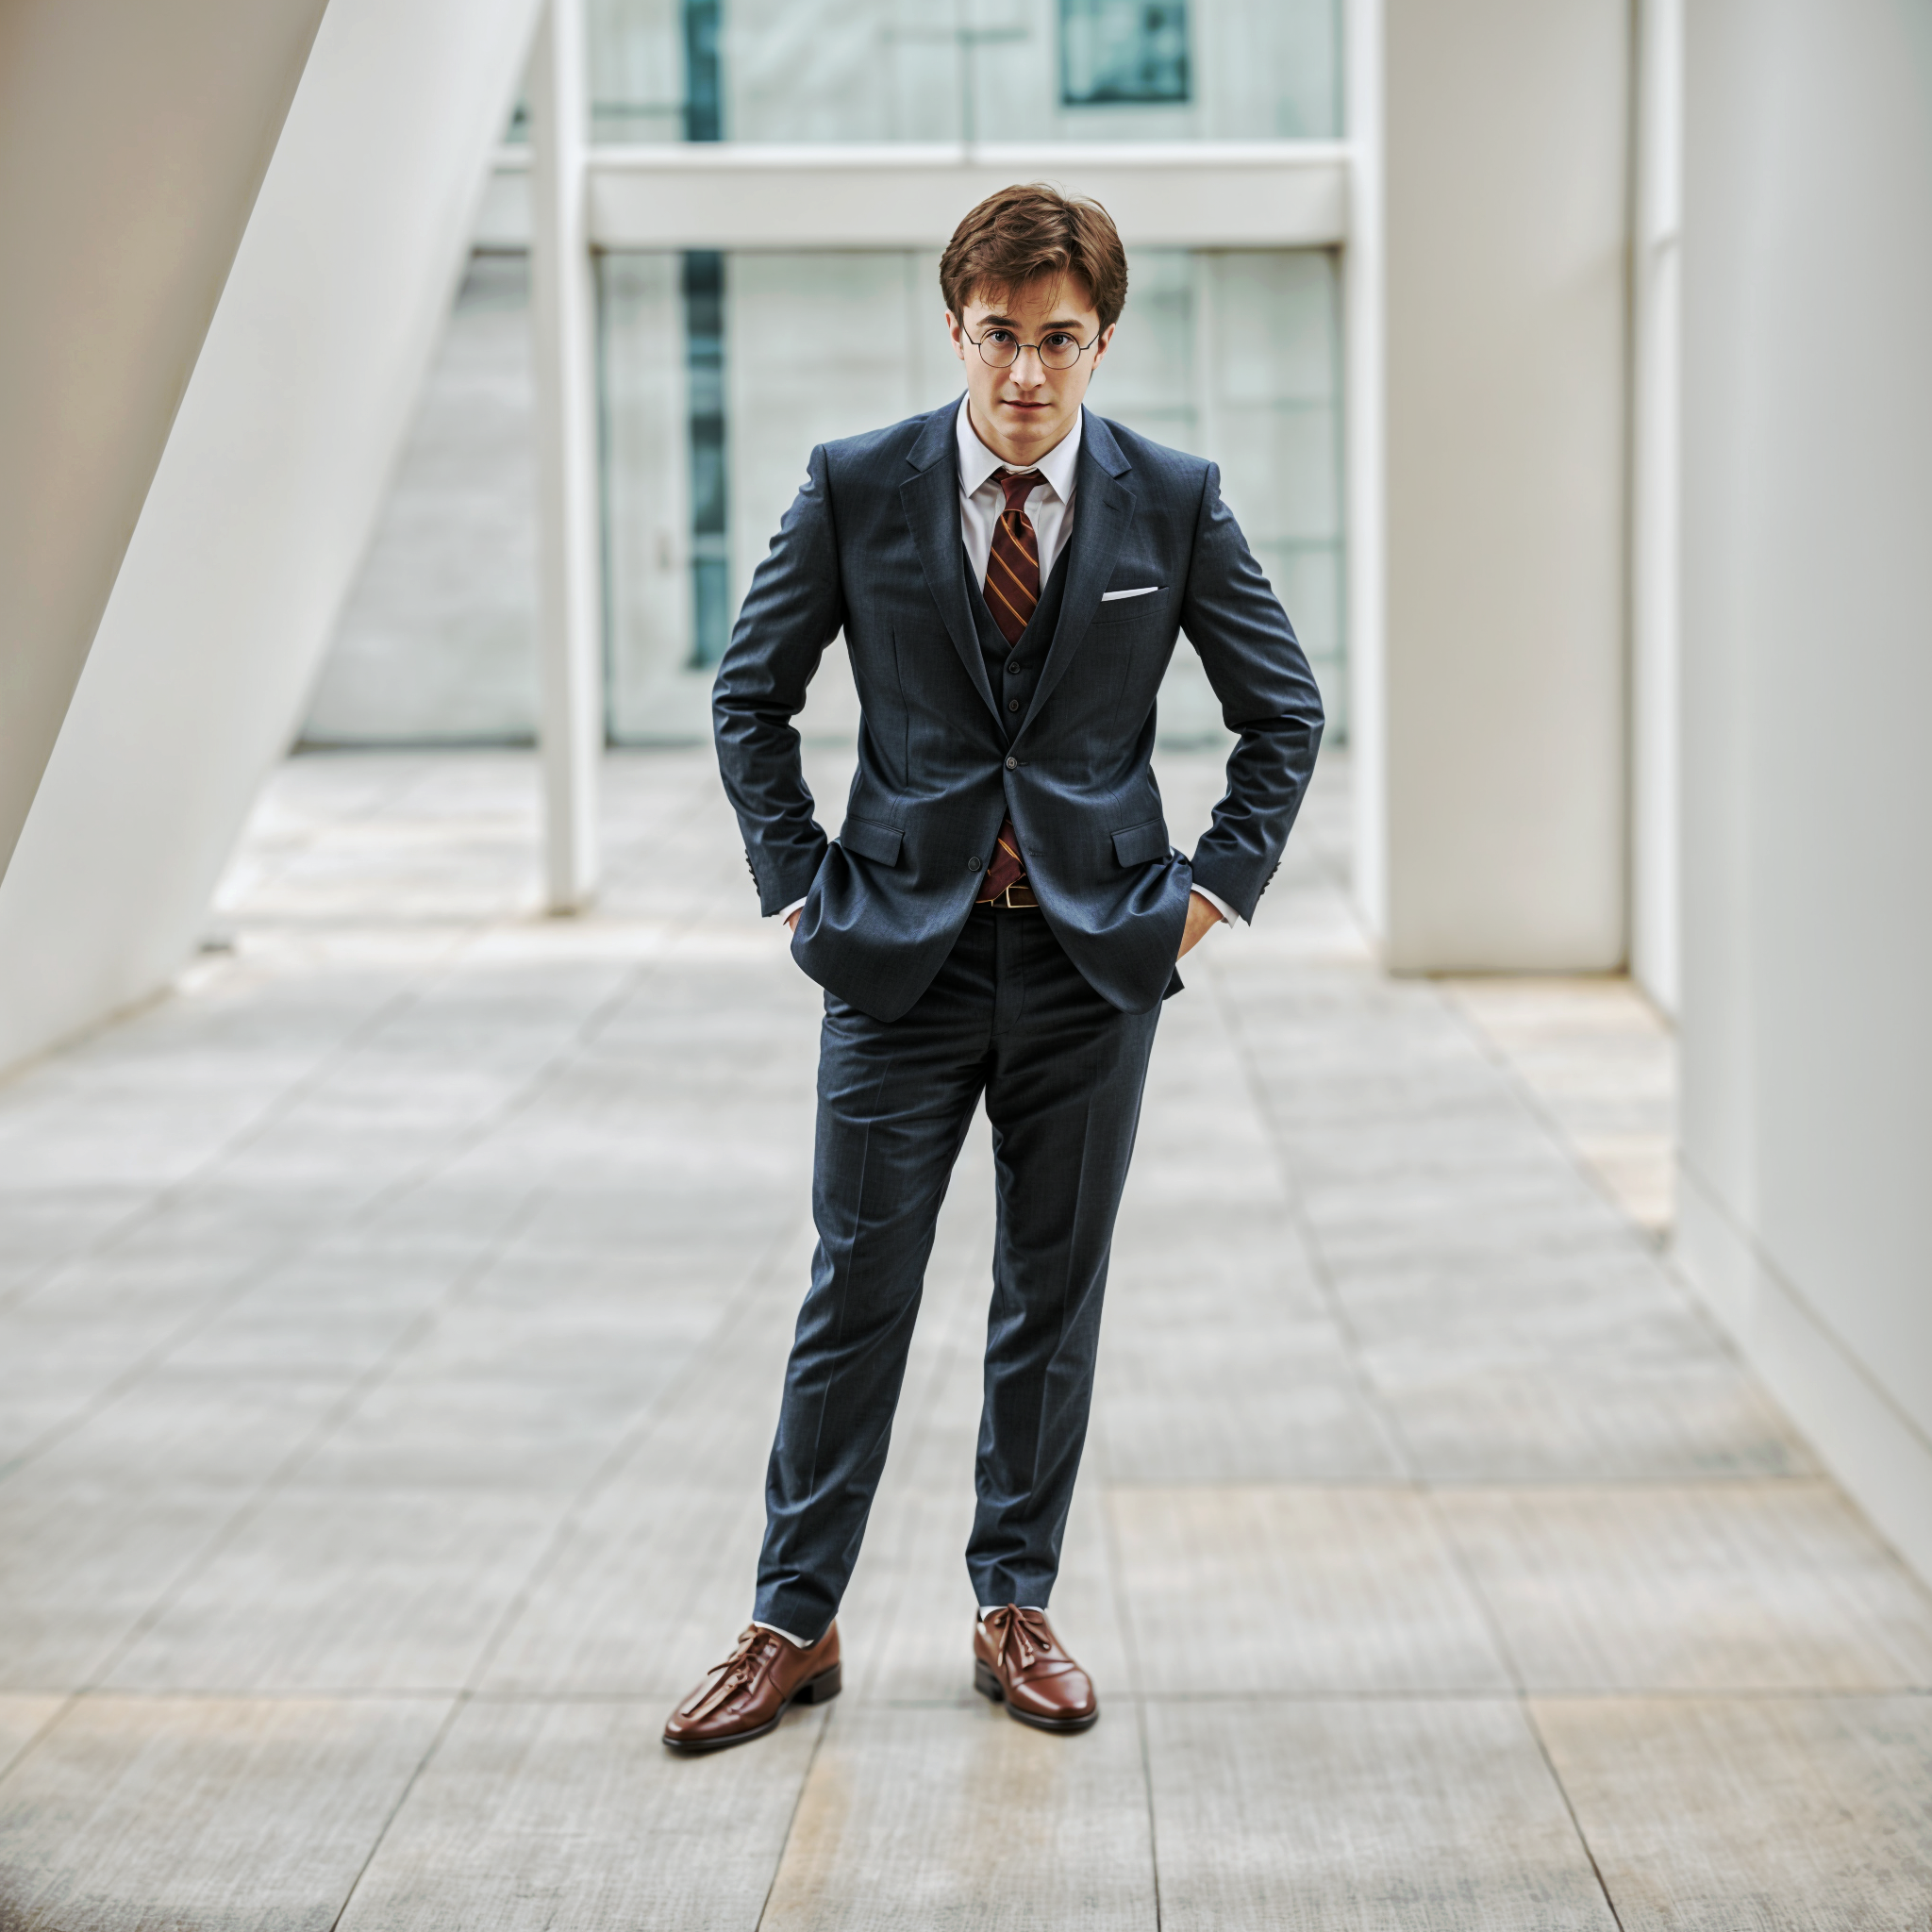
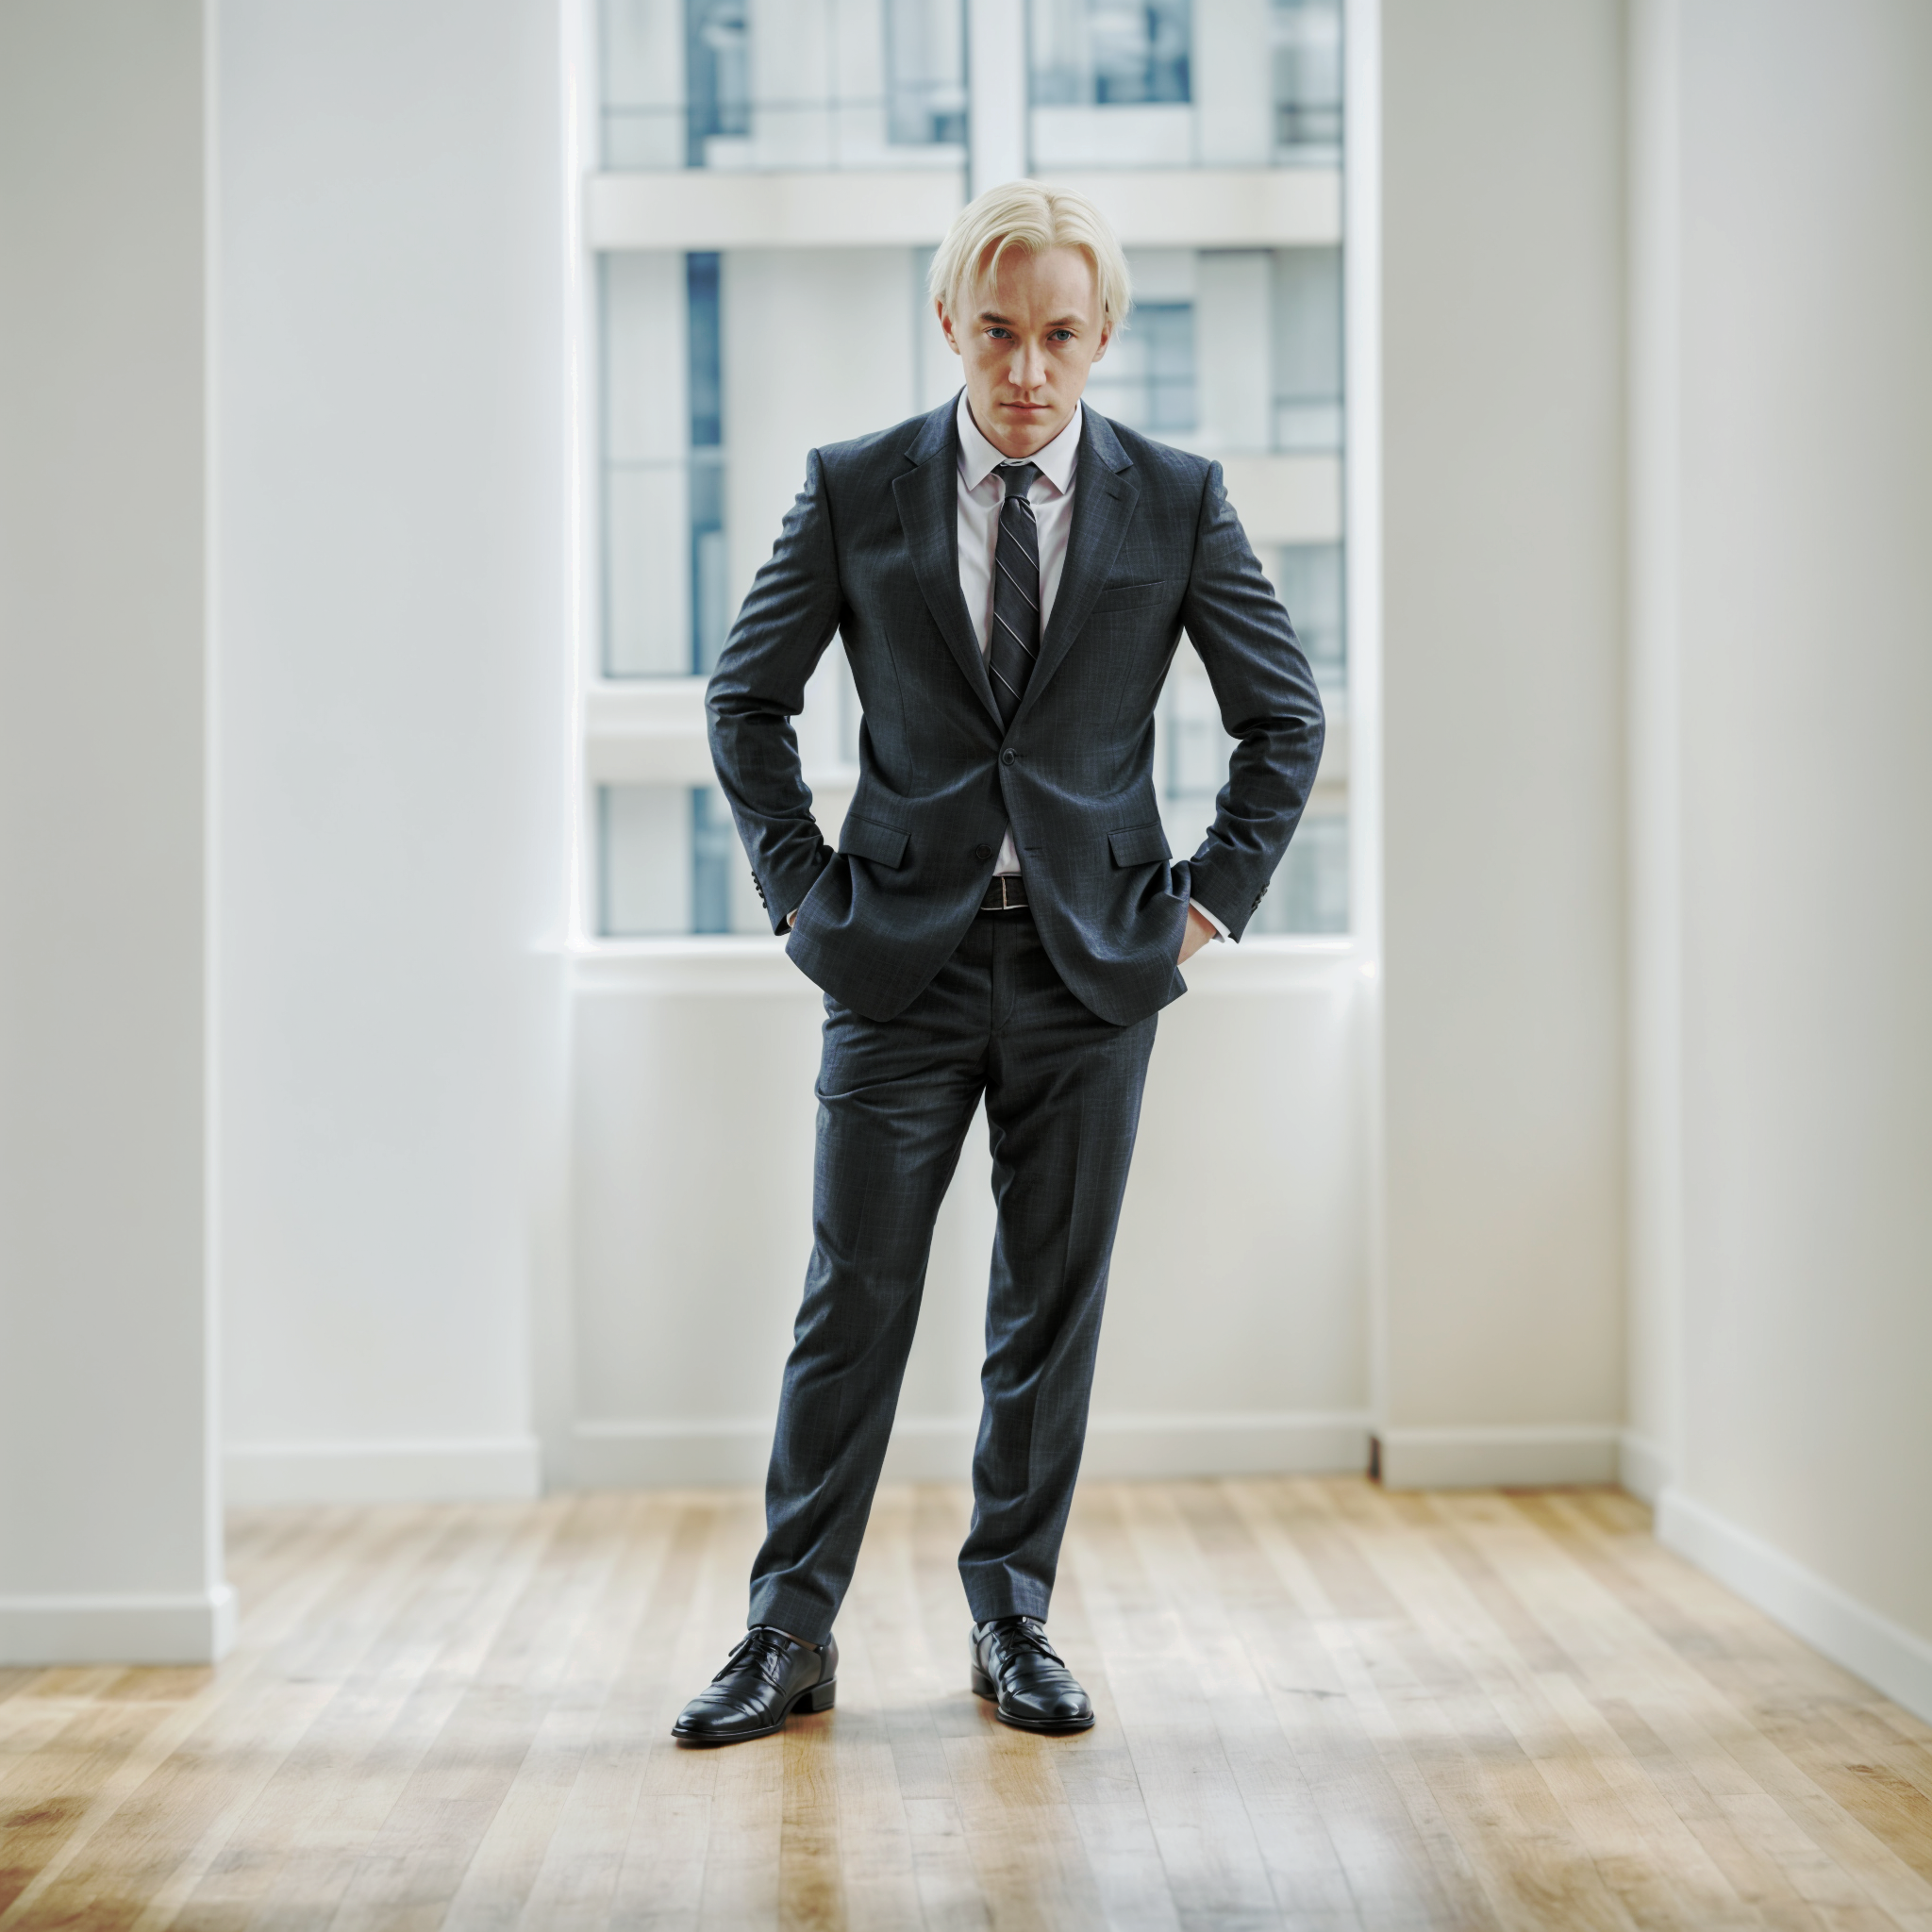
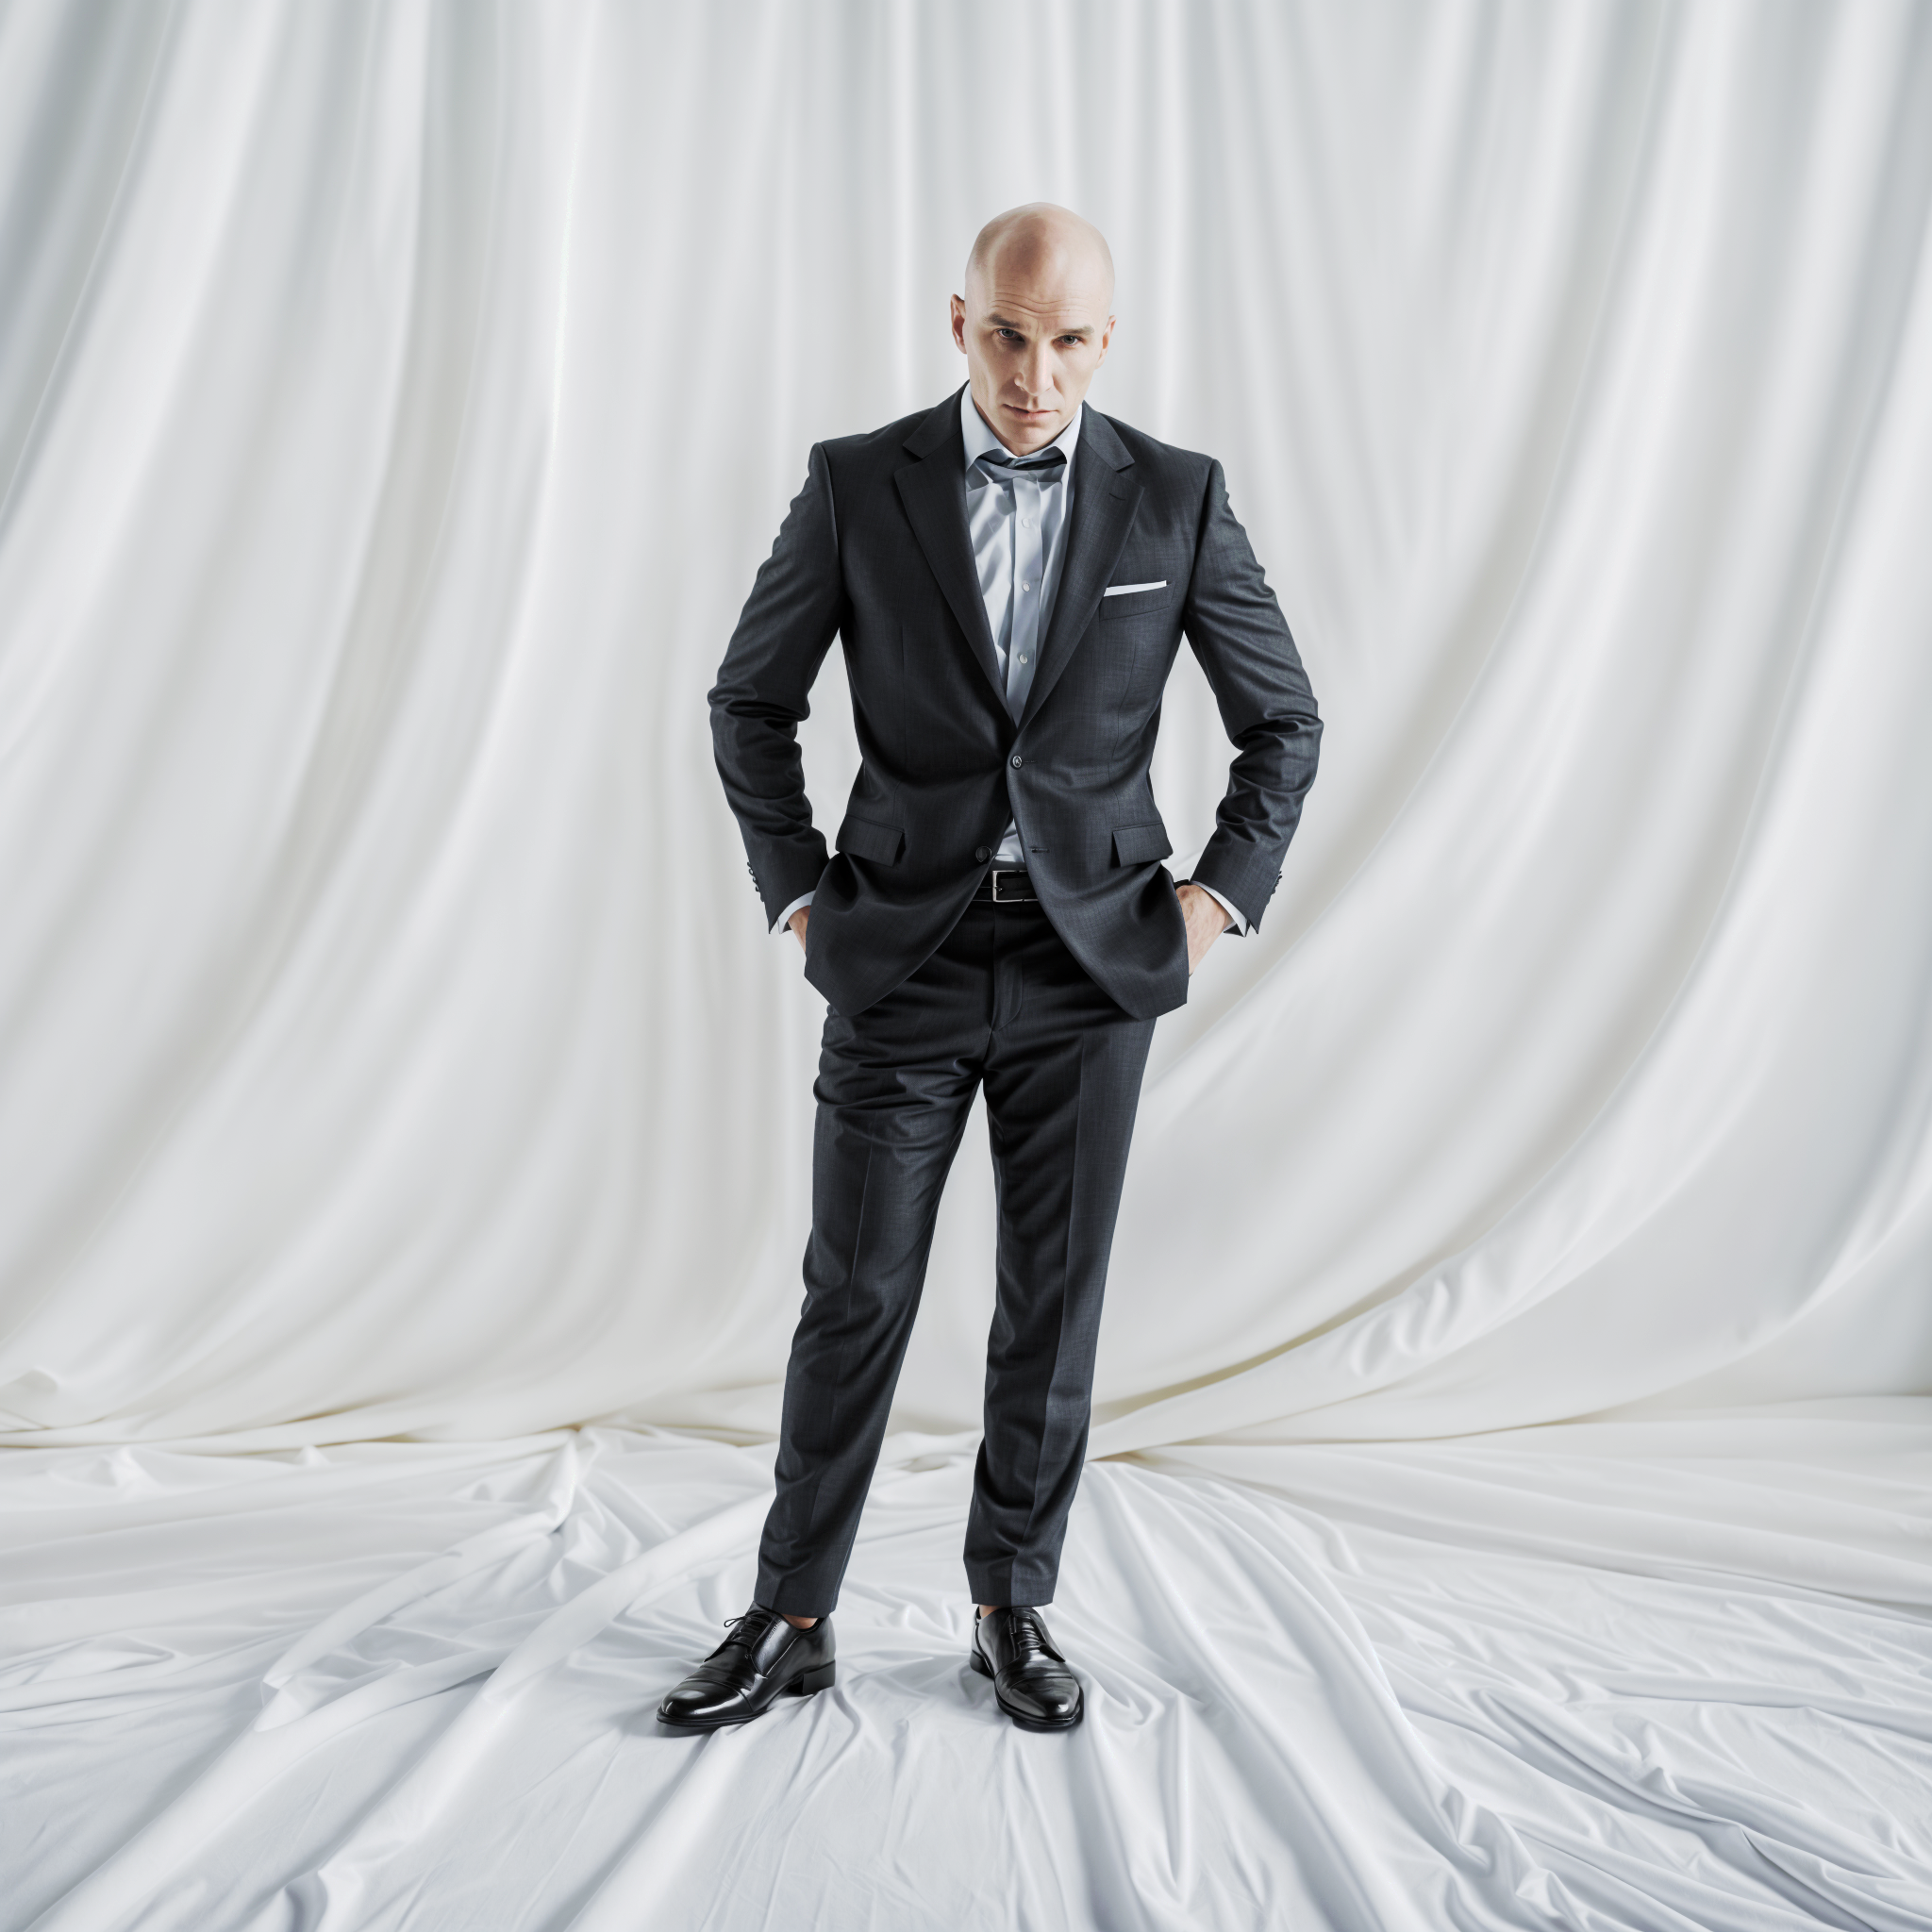
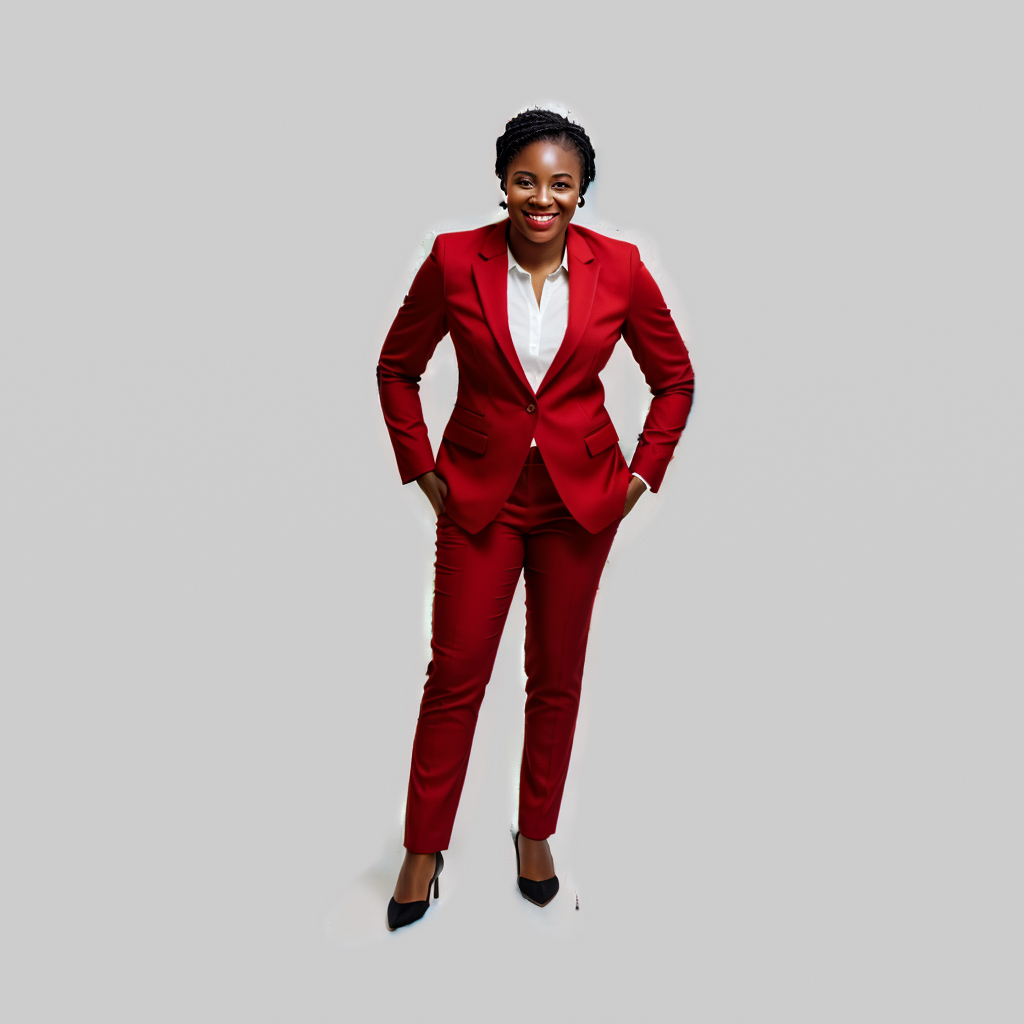
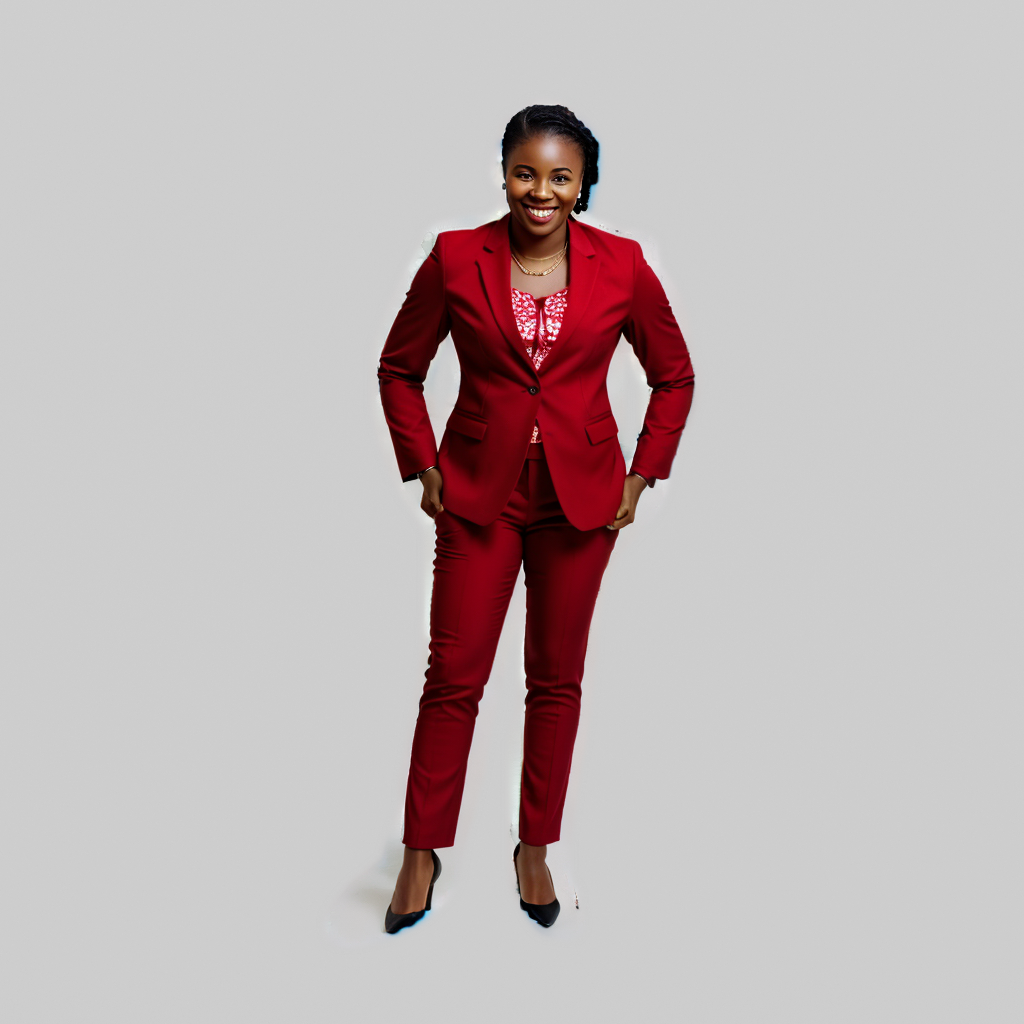
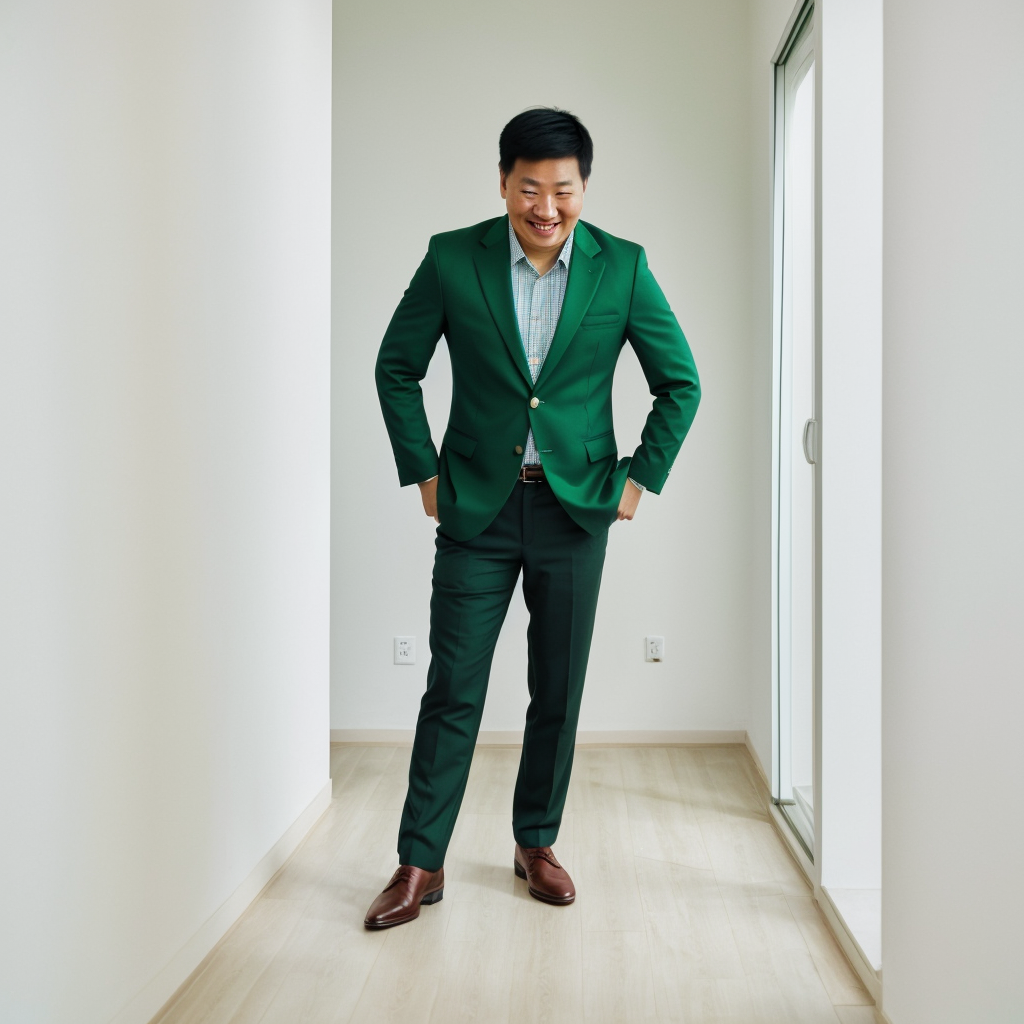
Here is a gallery of full-res results with this prompt and settings:
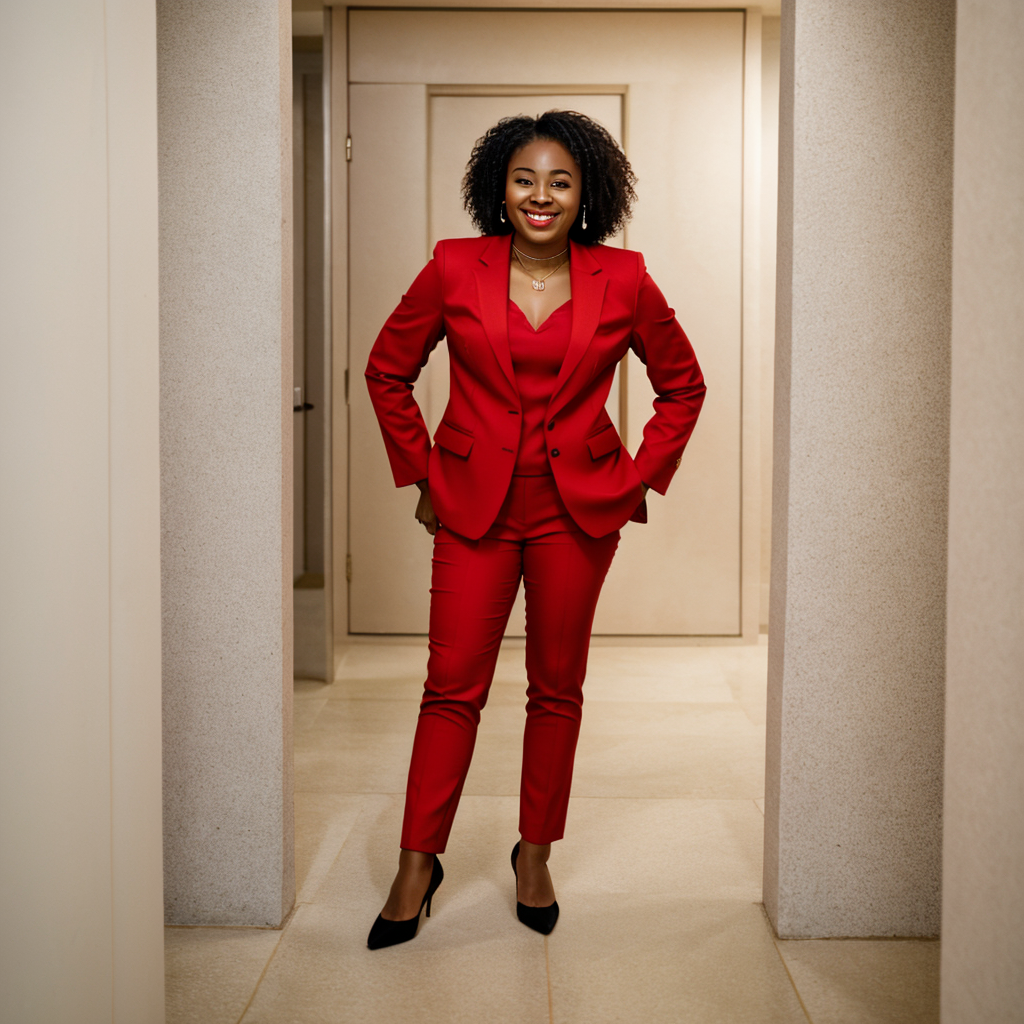
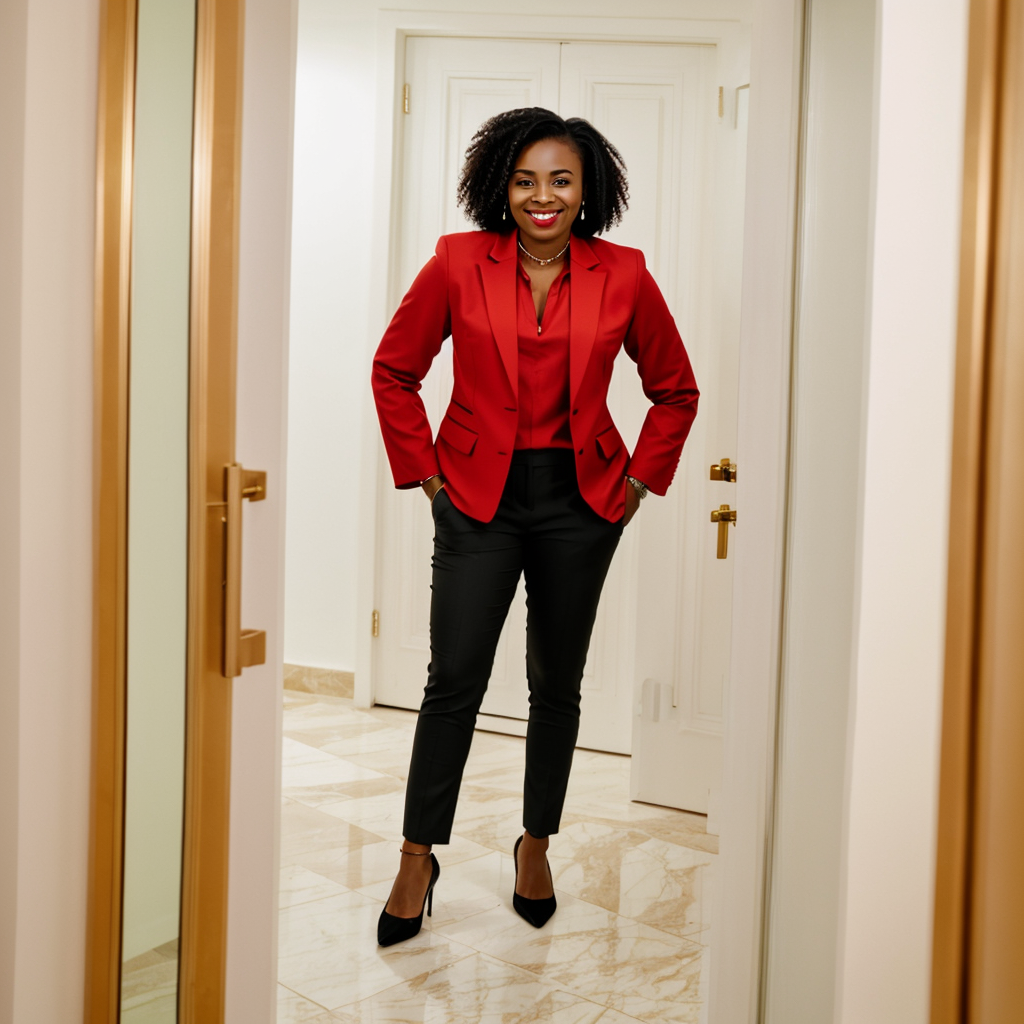
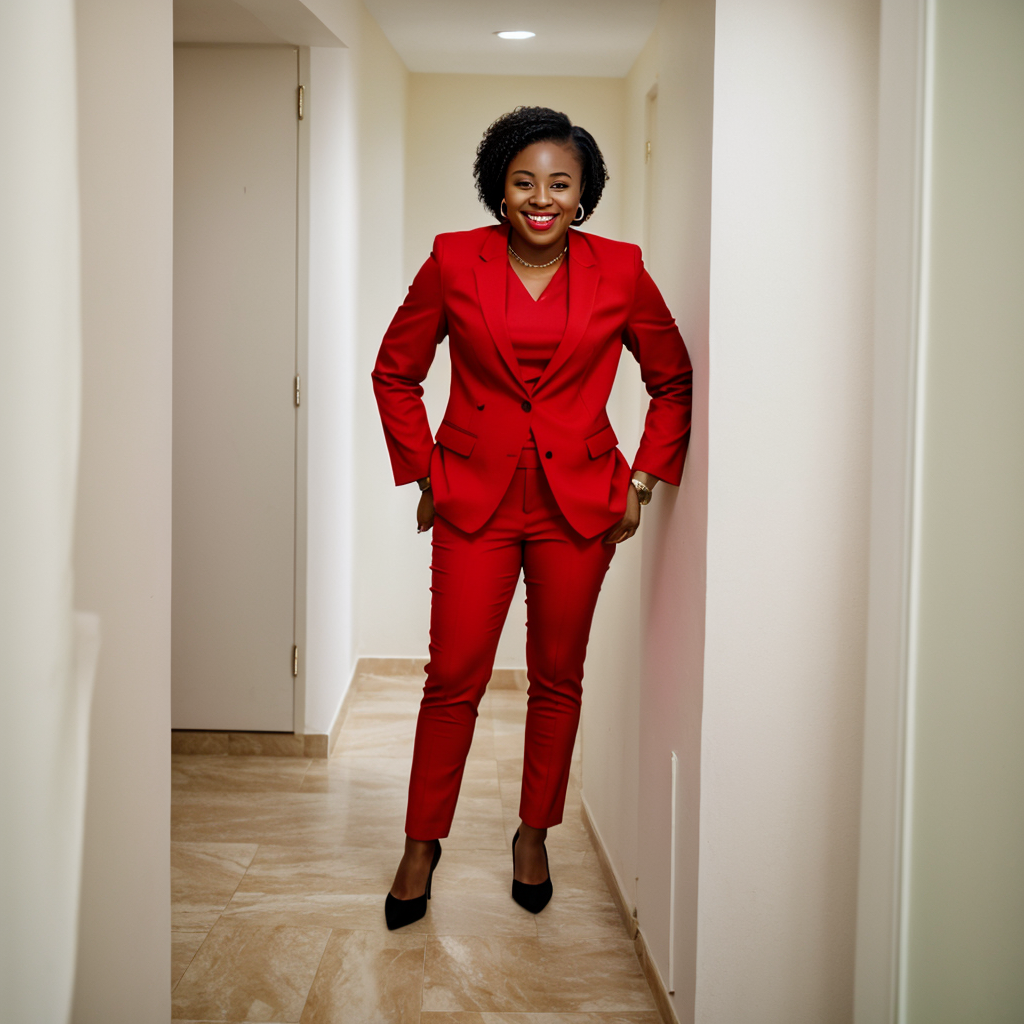
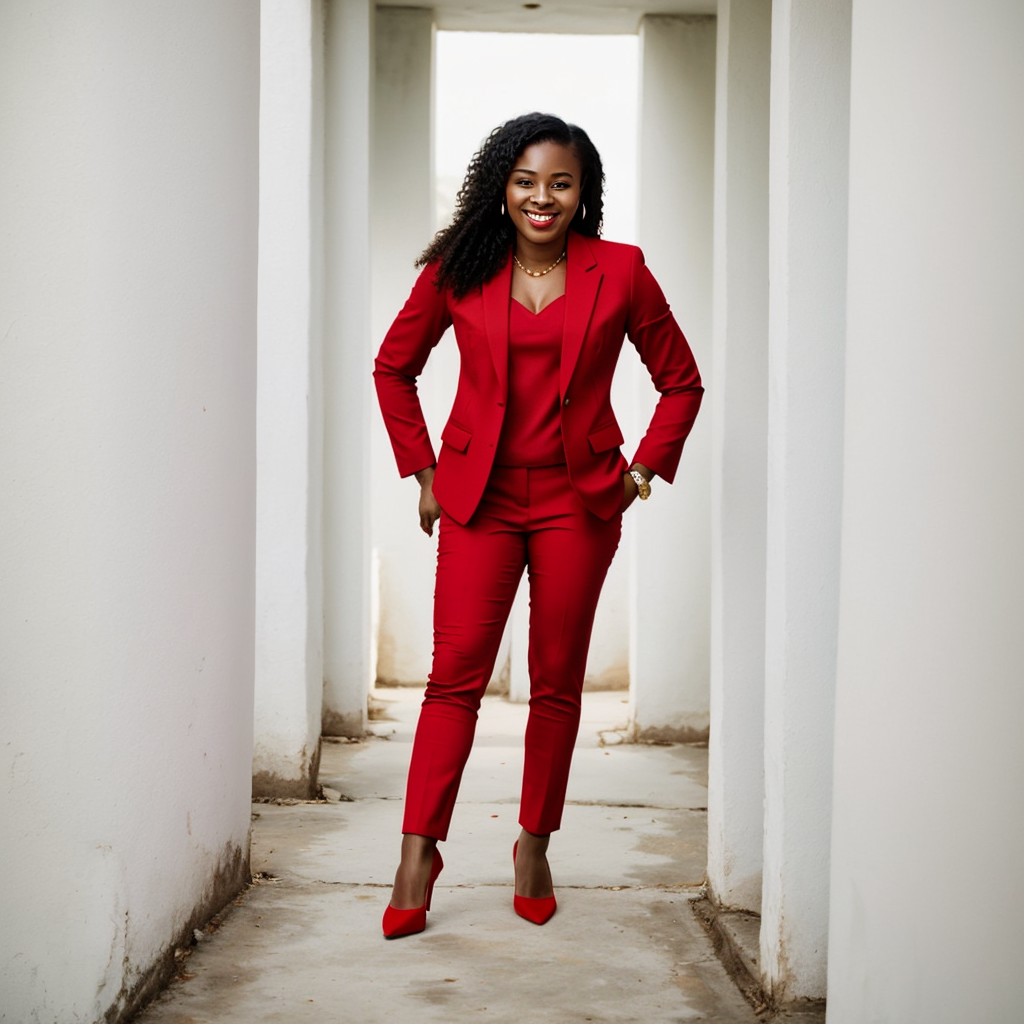
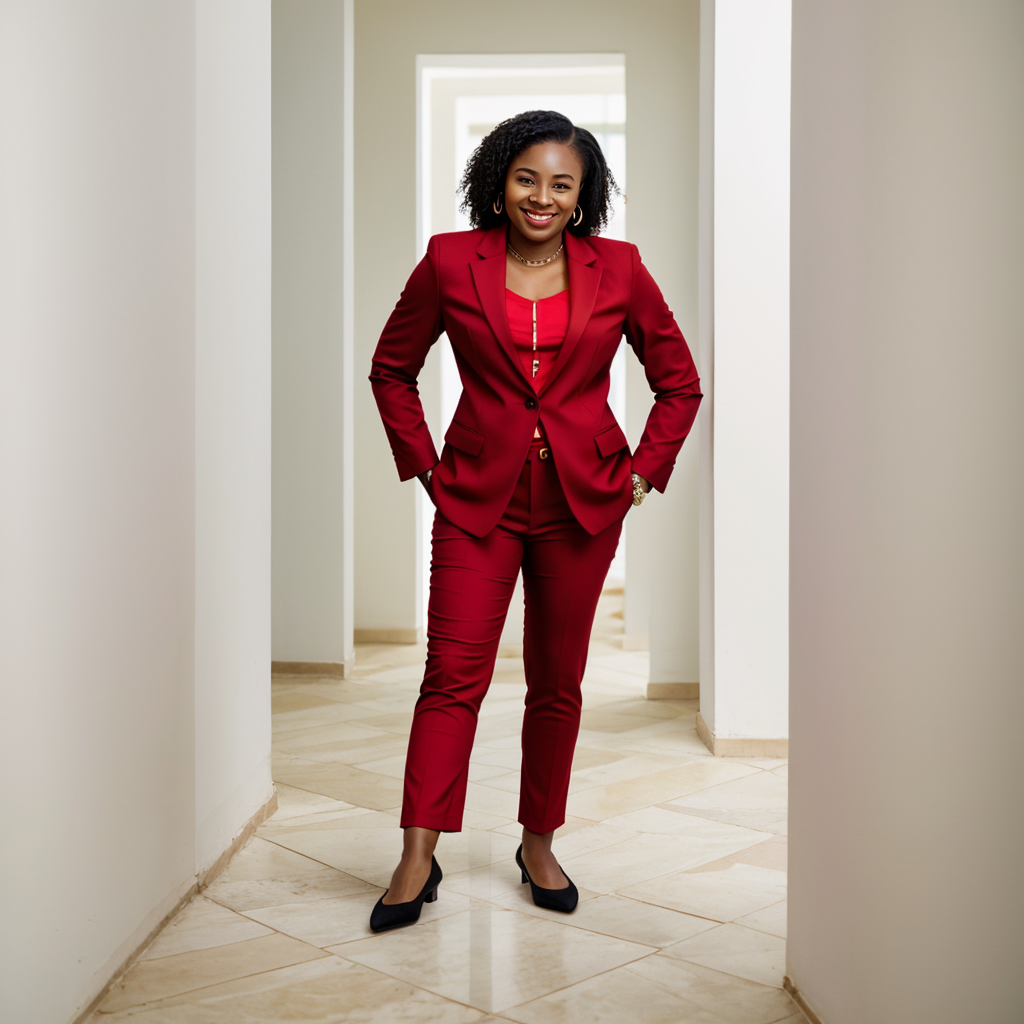
The changed background is a little confusing, however, the pose is consistent across all images and there is a way to remove the distraction. This is what happens inside A1111. ControlNet draws the pose outline of the reference image and uses that to build the new image.

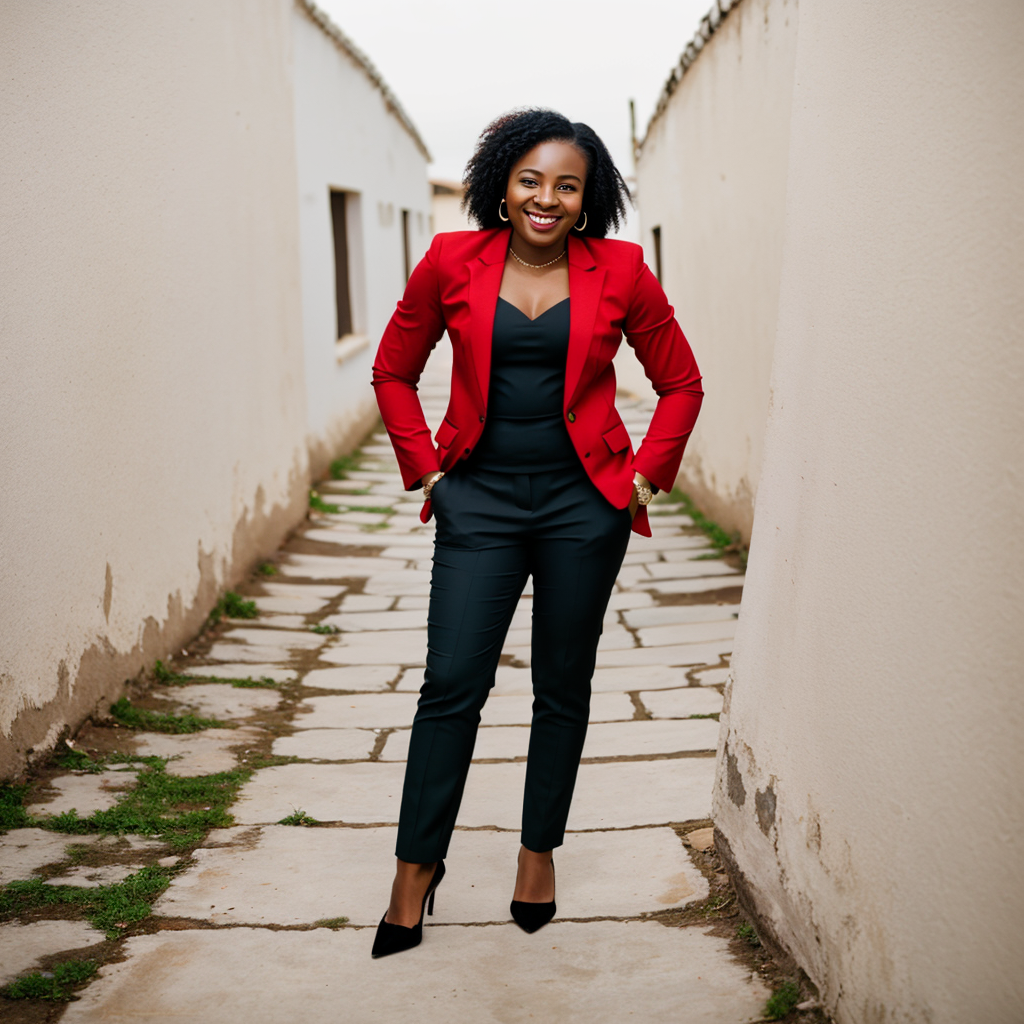
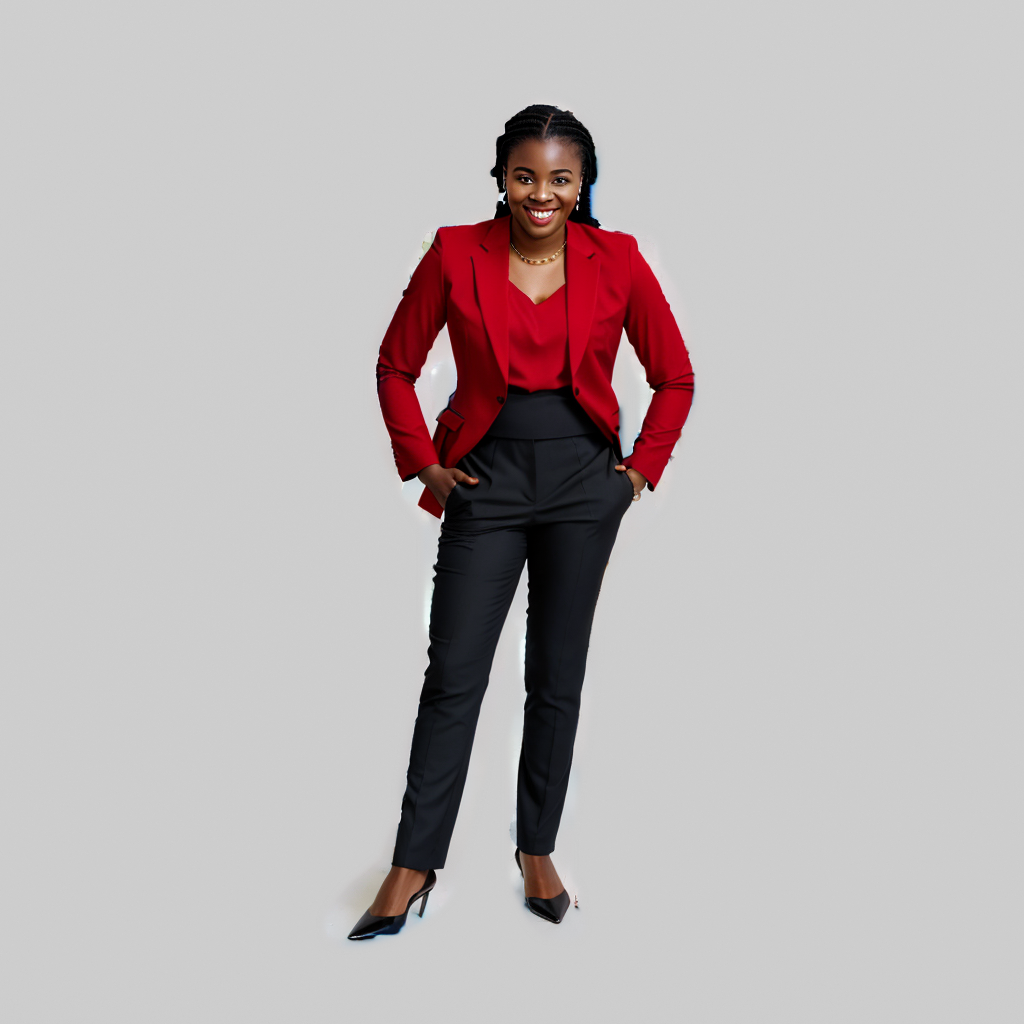
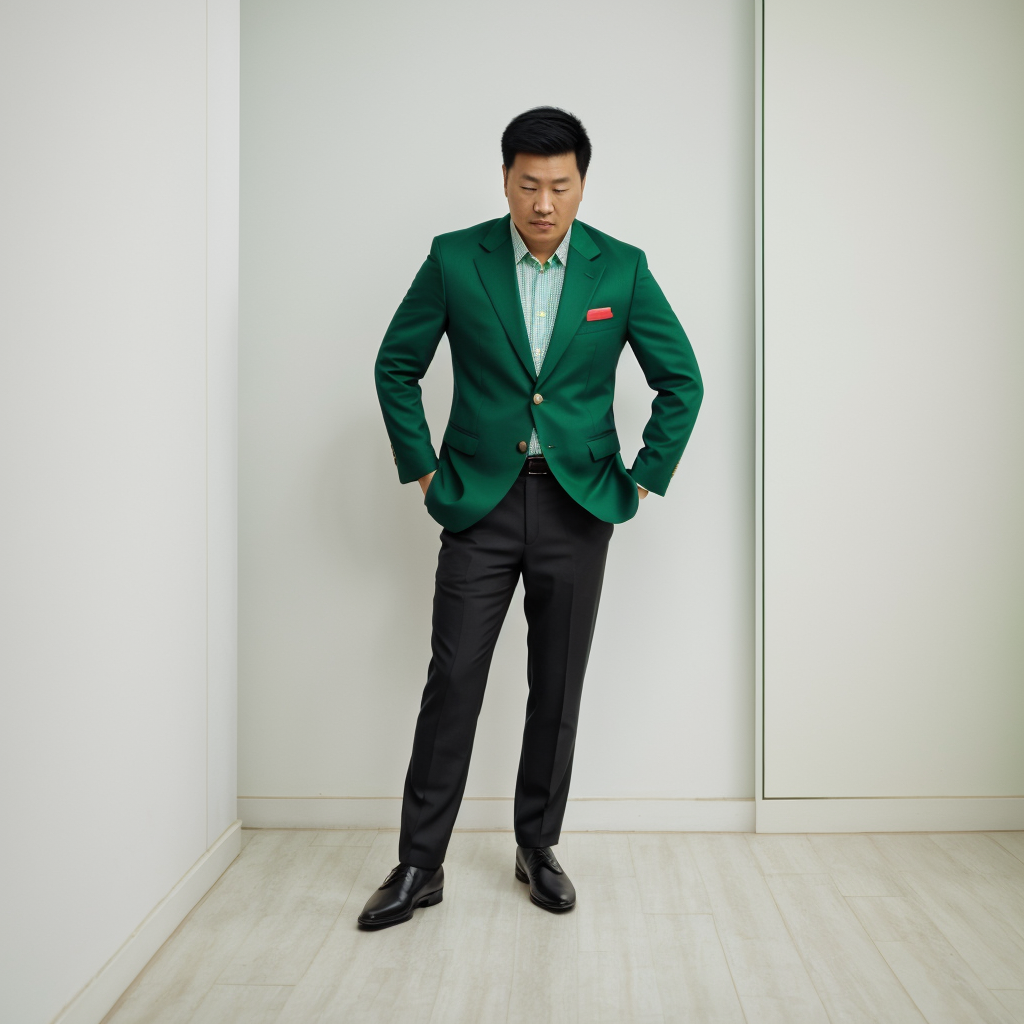
To get rid of the background we can introduce a mask. In this case we InPanted one but it can also be an image or a render element to control all the people in the image.

The painted mask limits the effect of ControlNet to that specific area, which means no changes in the background. As you can see, the mask doesn’t need to be precise but rather rough. Let’s see a carousel of these results.
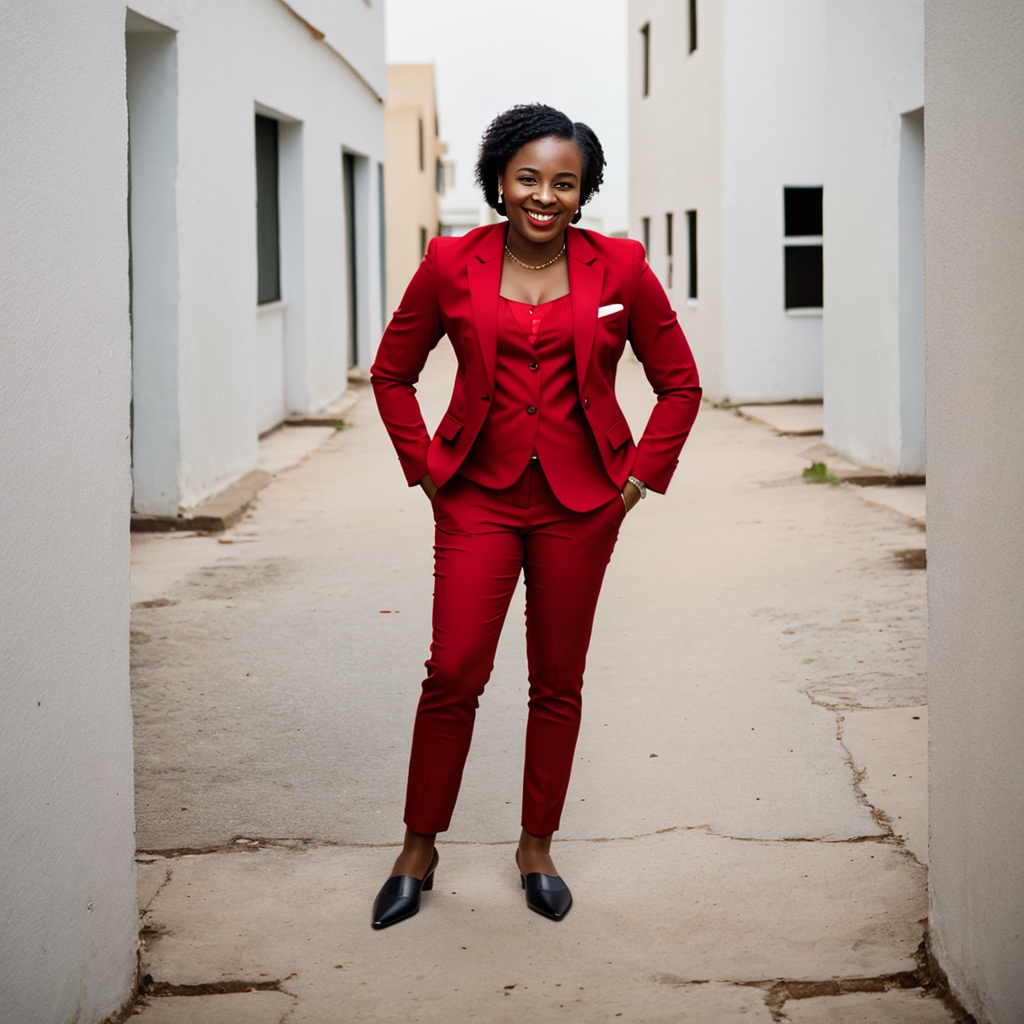
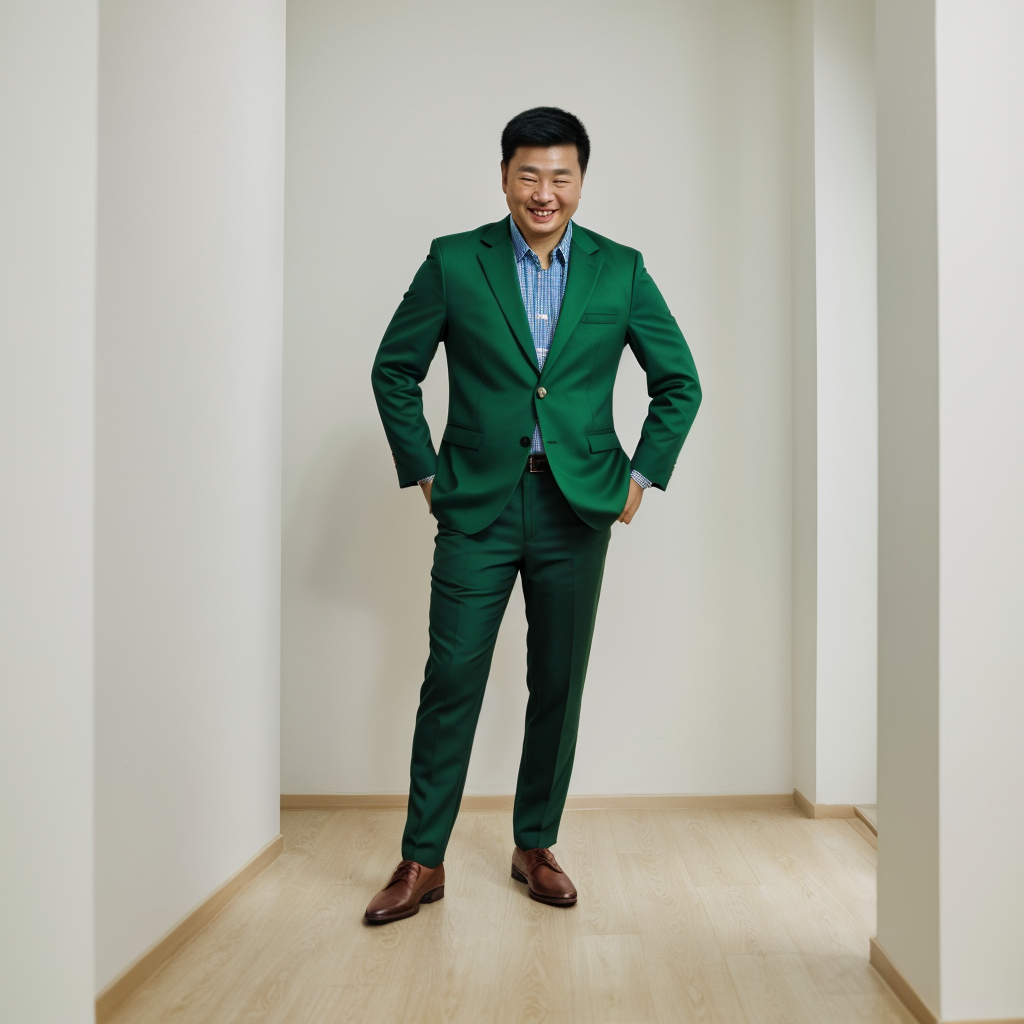
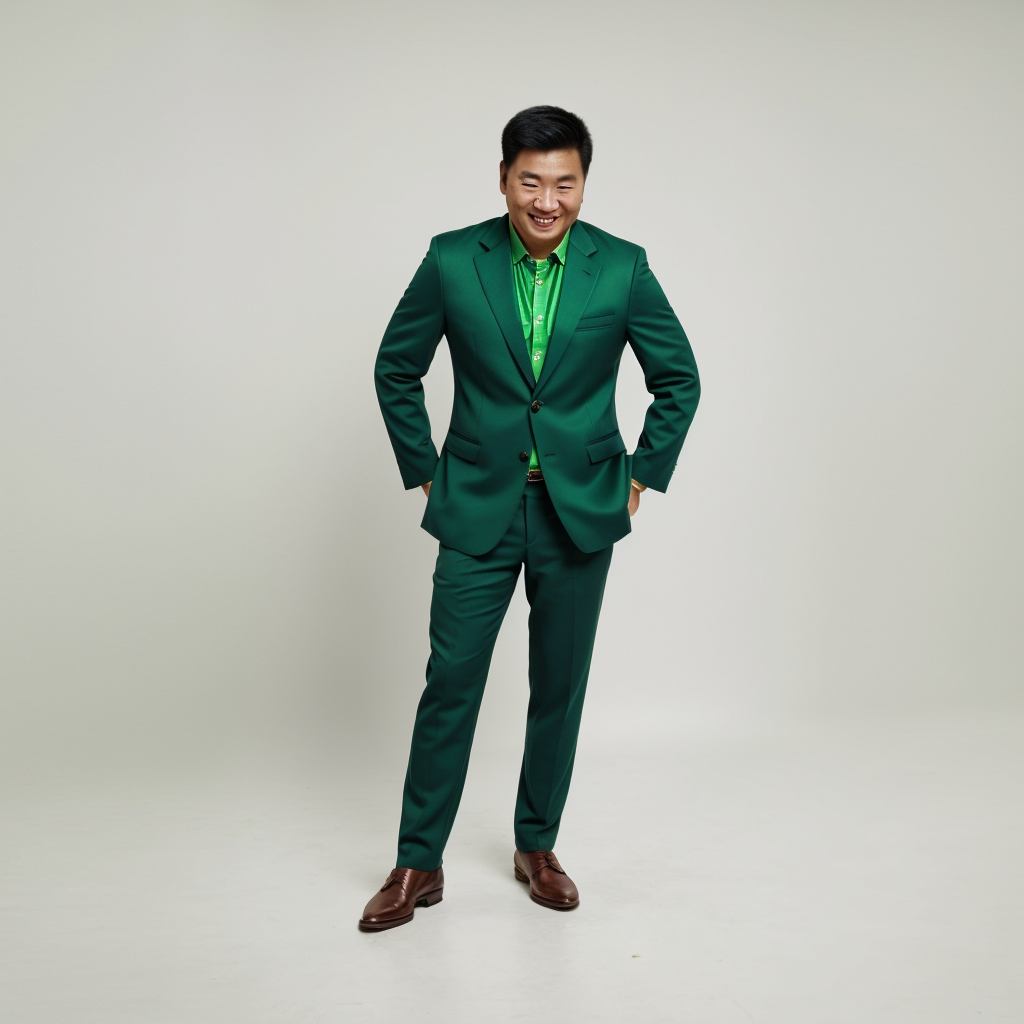
Not 100% accurate maybe but in no time we have some incredible variations. Now, just to prove a point we want to make this “a smiling Chinese man in business clothes, a green blazer”.
We hope this was interesting and useful, here is a full animation with all the generated images! To be continued soon!
As a last extra step, you can upscale and enhance the results you got. We haven’t used any upscaler/enhancer in the Stable Diffusion workflow so we took the results and brought them into Krea.ai. The results are awe-inspiring with some details that bring it all together.